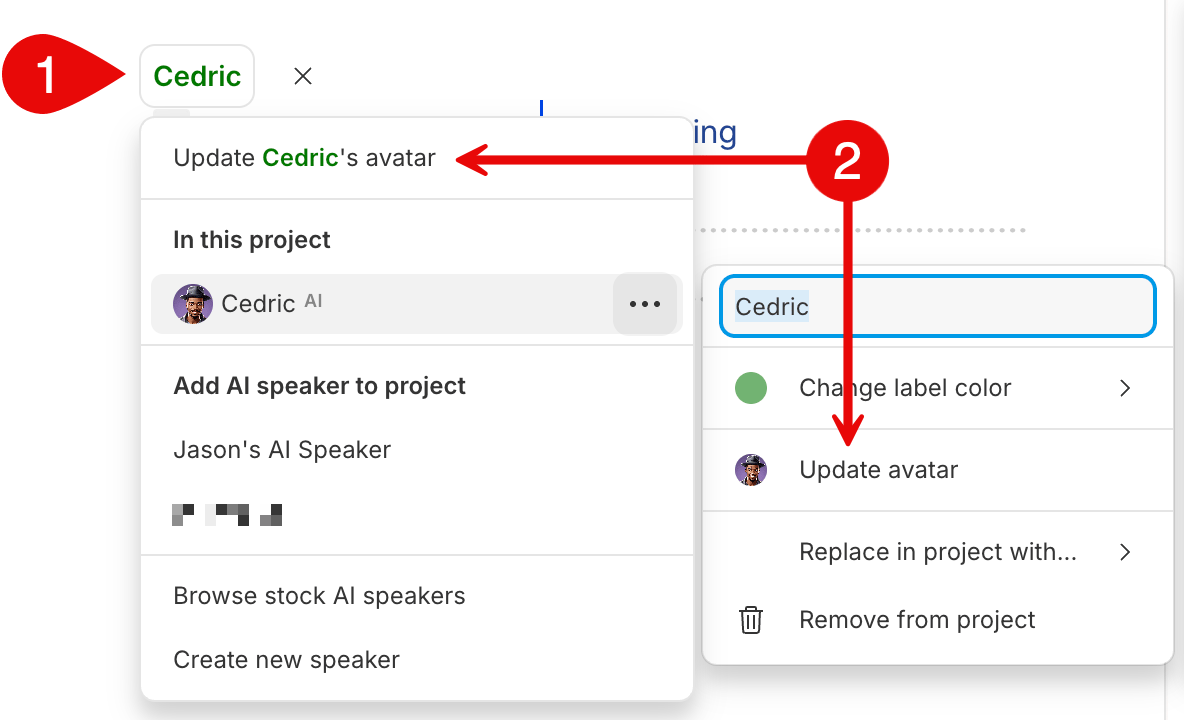

Before you start: your script needs a speaker to attach an avatar to. Get your content into Descript first: record it, generate it with text-to-speech, or import it. Then add a speaker label.
- Create from a text prompt
- Create from an image
- Stock avatars
Describe your avatar to generate a completely custom character to present your content.
On current plans, this feature uses AI credits. Learn more about tracking your media minutes and AI credits.Legacy and Sunset plans track usage differently. See Understanding your Legacy and Sunset plan for details.
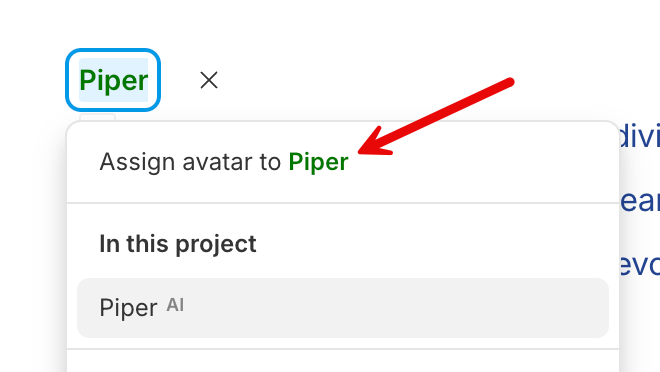
- Click the speaker label and choose Assign avatar to [speaker name].
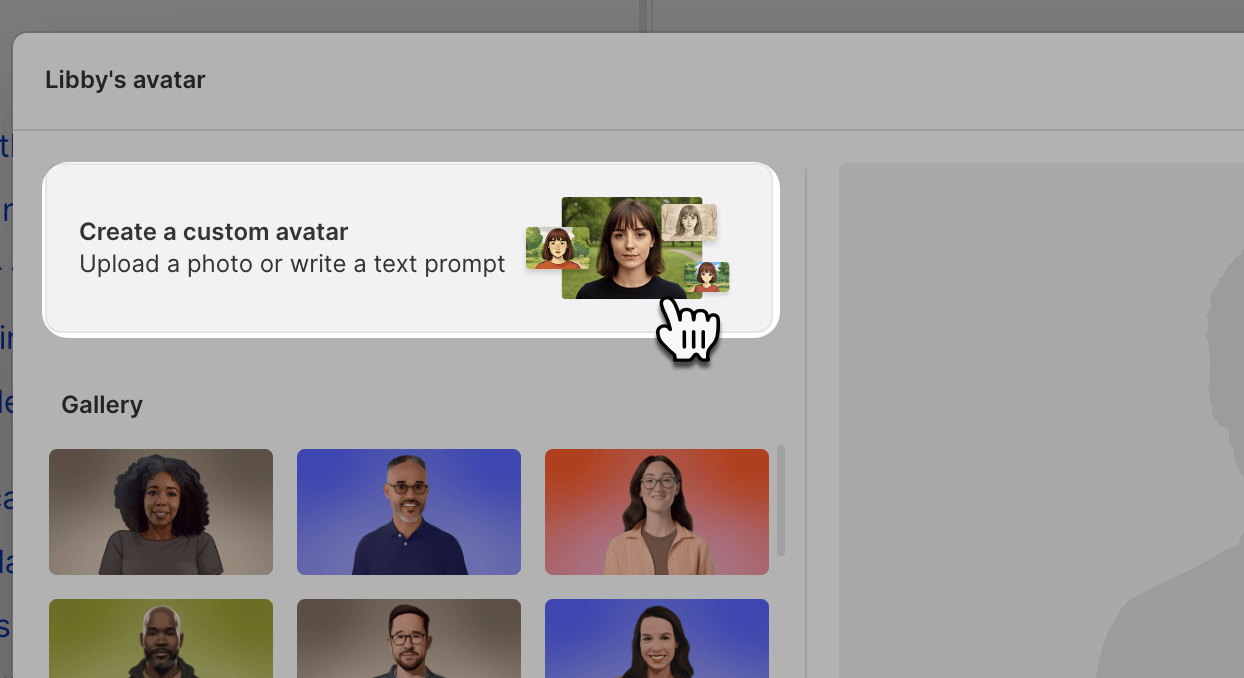
- Click the Create a custom avatar button.
- In the Text prompt tab, enter a description or click Inspire for a suggested prompt. Describe a realistic, adult, non-celebrity, human-like figure.
- (Optional) Choose a style for your avatar from the available options in our style library.
- Descript will generate three avatar options.
- Select one of the images to apply,
- Continue iterating on your prompt (previous generations stay visible while the avatar modal is open), or
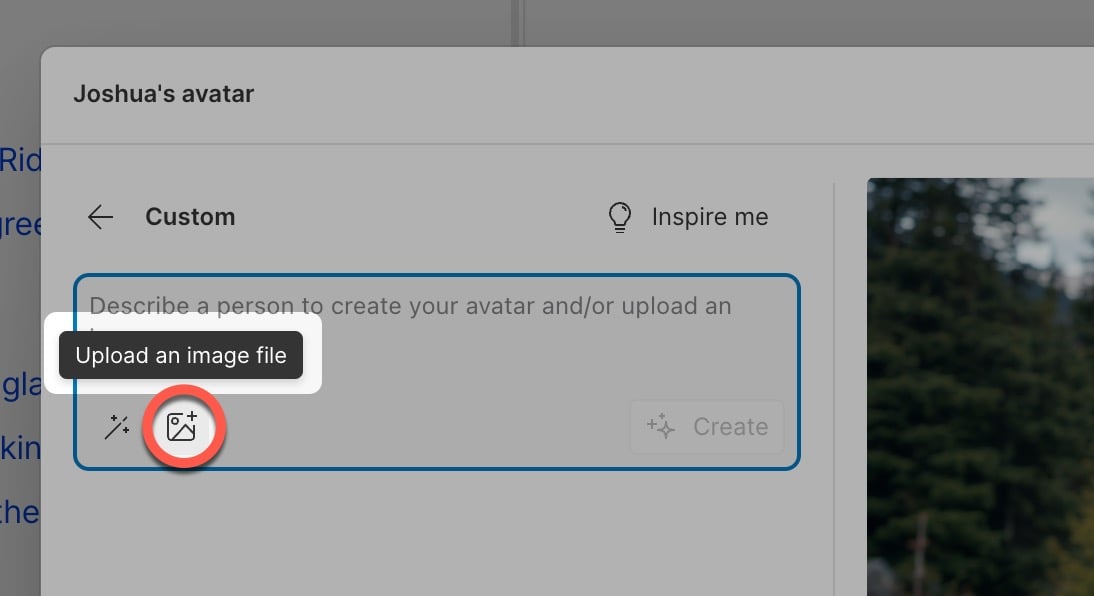
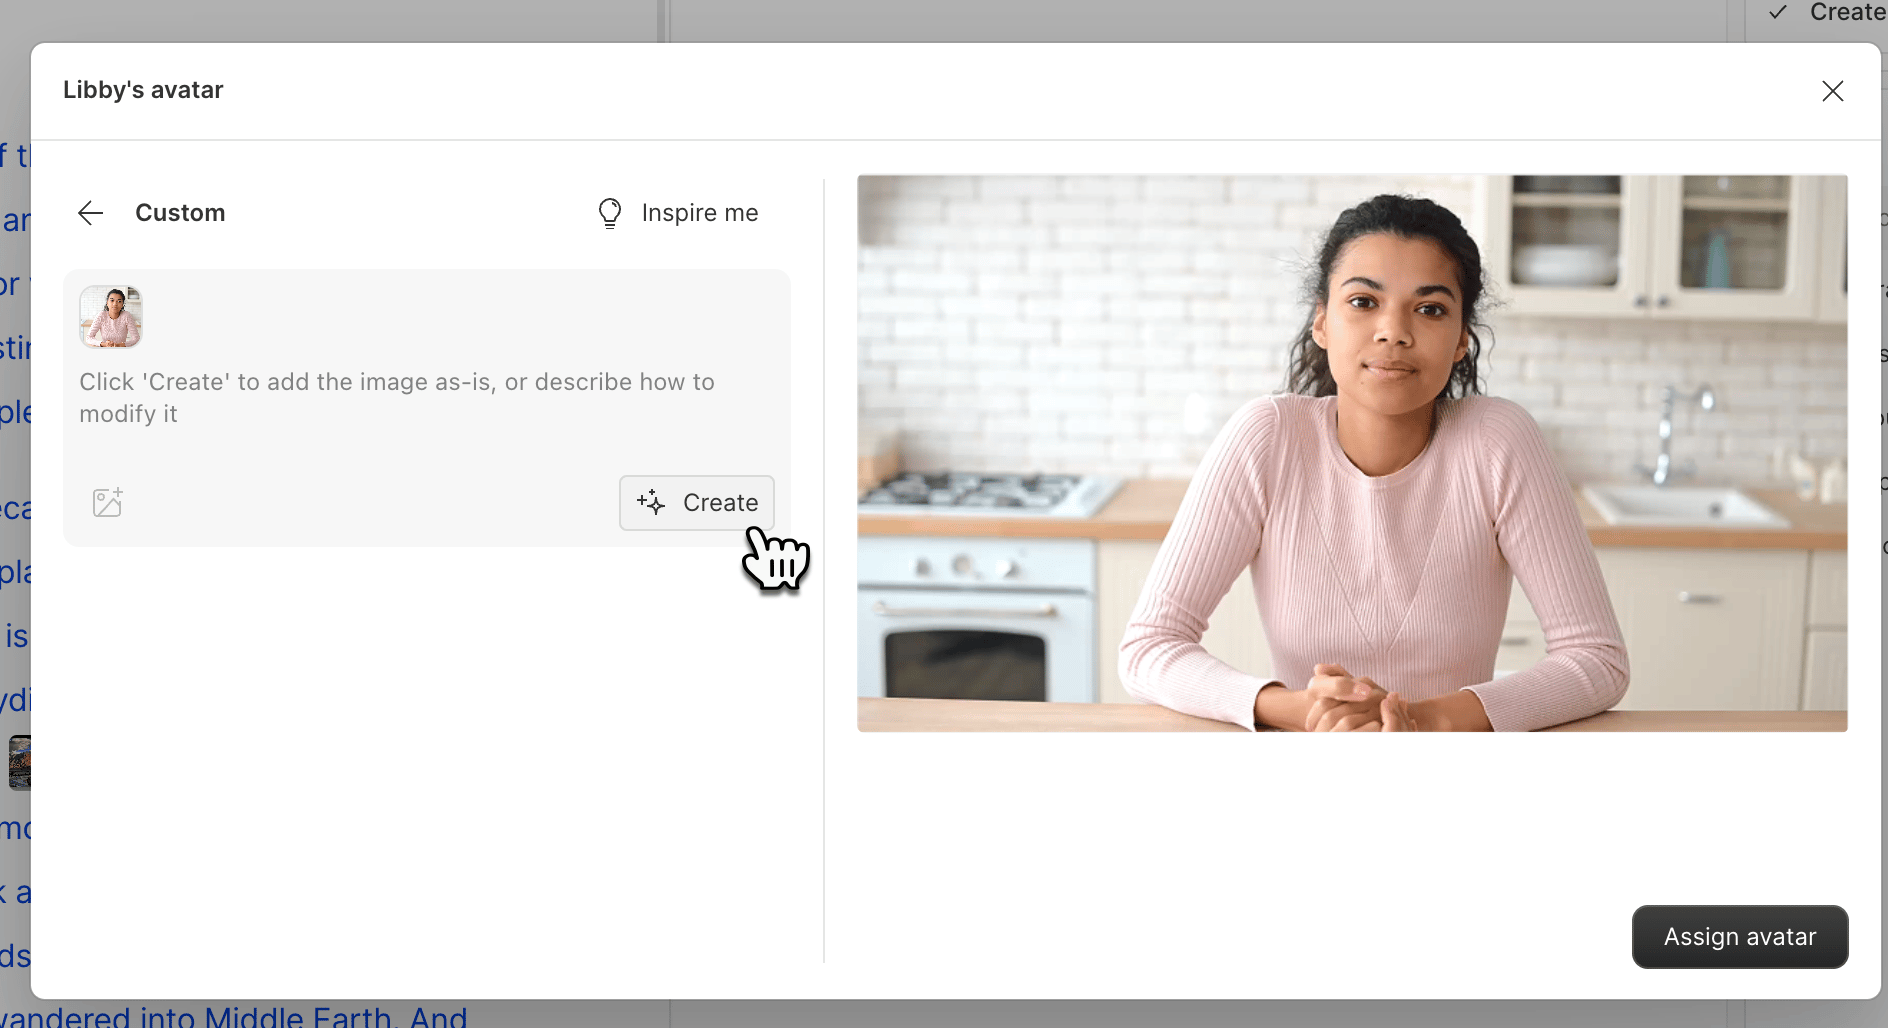
- Add a reference image to keep the same base while changing the look: hover the preview and click Add image to prompt to generate from both your prompt and the image.
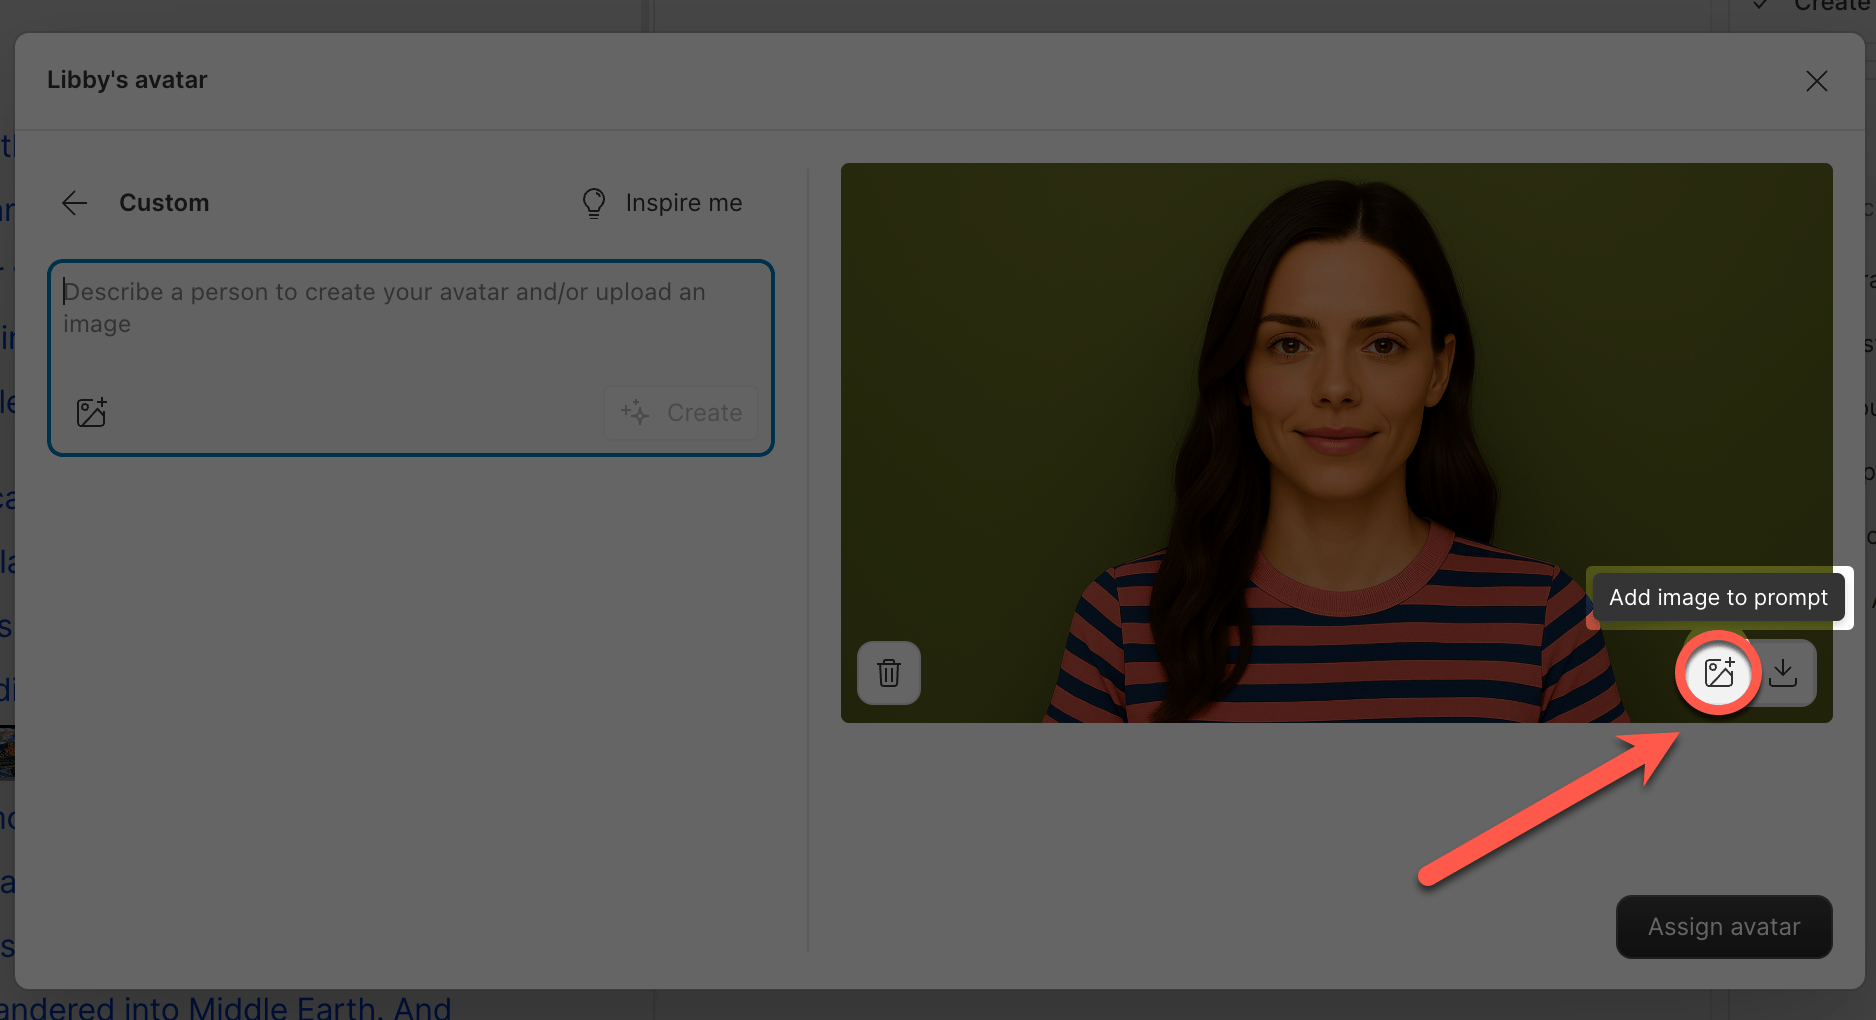
- Click Assign avatar to create the avatar and assign it to your speaker.
- Once your script is finalized, click Generate avatar to animate the image and sync it with the speech audio.

Manage avatars in your project
Once assigned, an avatar “follows” its speaker everywhere they appear in your composition. Each speaker can be connected to one avatar at a time. From the speaker label you can:- Update or remove the avatar by choosing Update speaker’s avatar.
- Resize, reposition, or crop it in the Scene panel.
- Combine it with effects like Green Screen.