

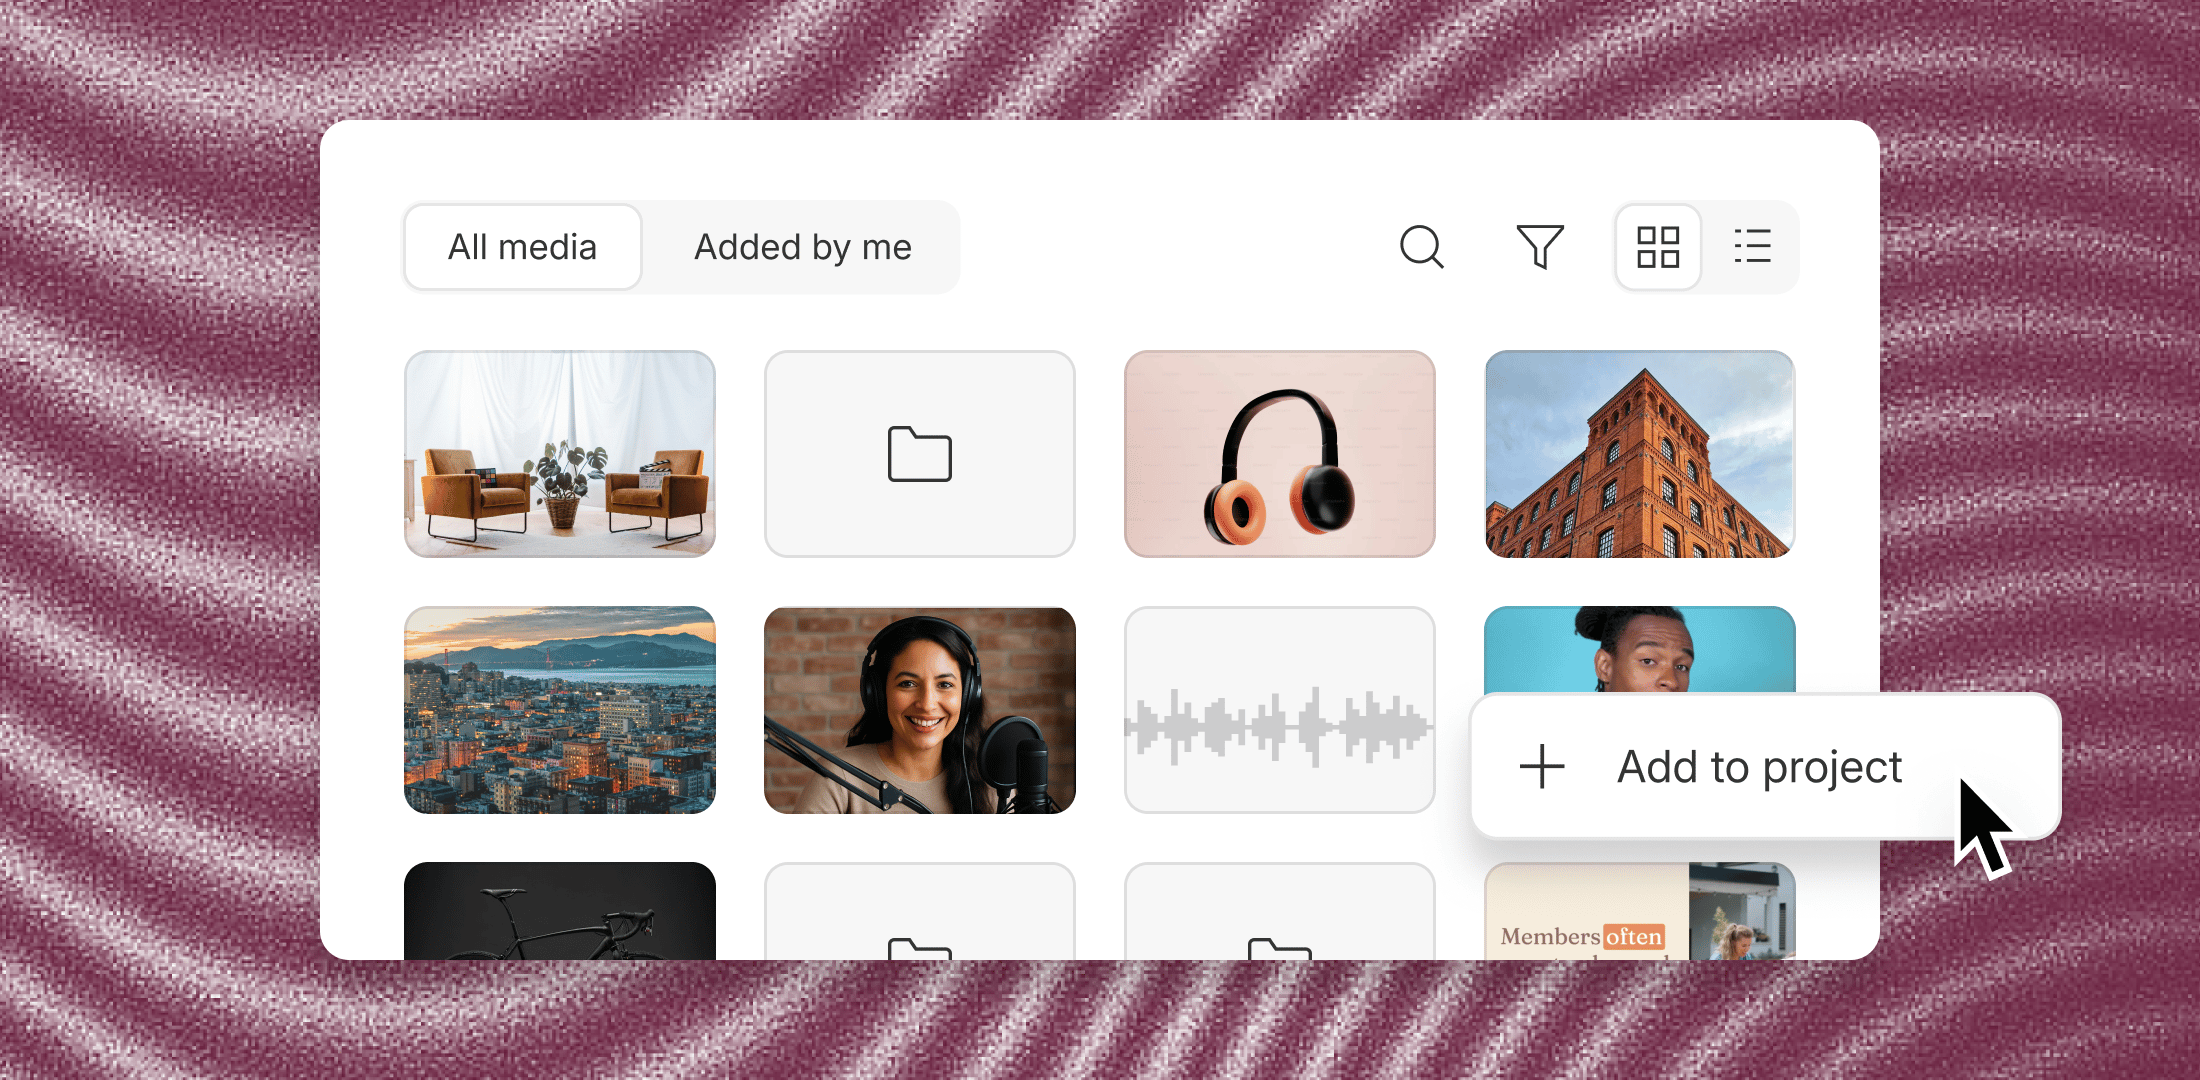
Add and organize media
Upload files to the Media library
-
Open the Drive view, then select Media library in the left sidebar.
- Or click this link to go directly to your media library.
- Click Add media in the top-right corner.
-
Select from one of the following options:
- Upload files or drag and drop files into the window.
- Add from project to move a file from an existing project into the media library.
- Import from Zoom to add cloud recordings from your connected Zoom account.
- Import from Google Drive to pick files from your Google Drive. (This option is available on web only).
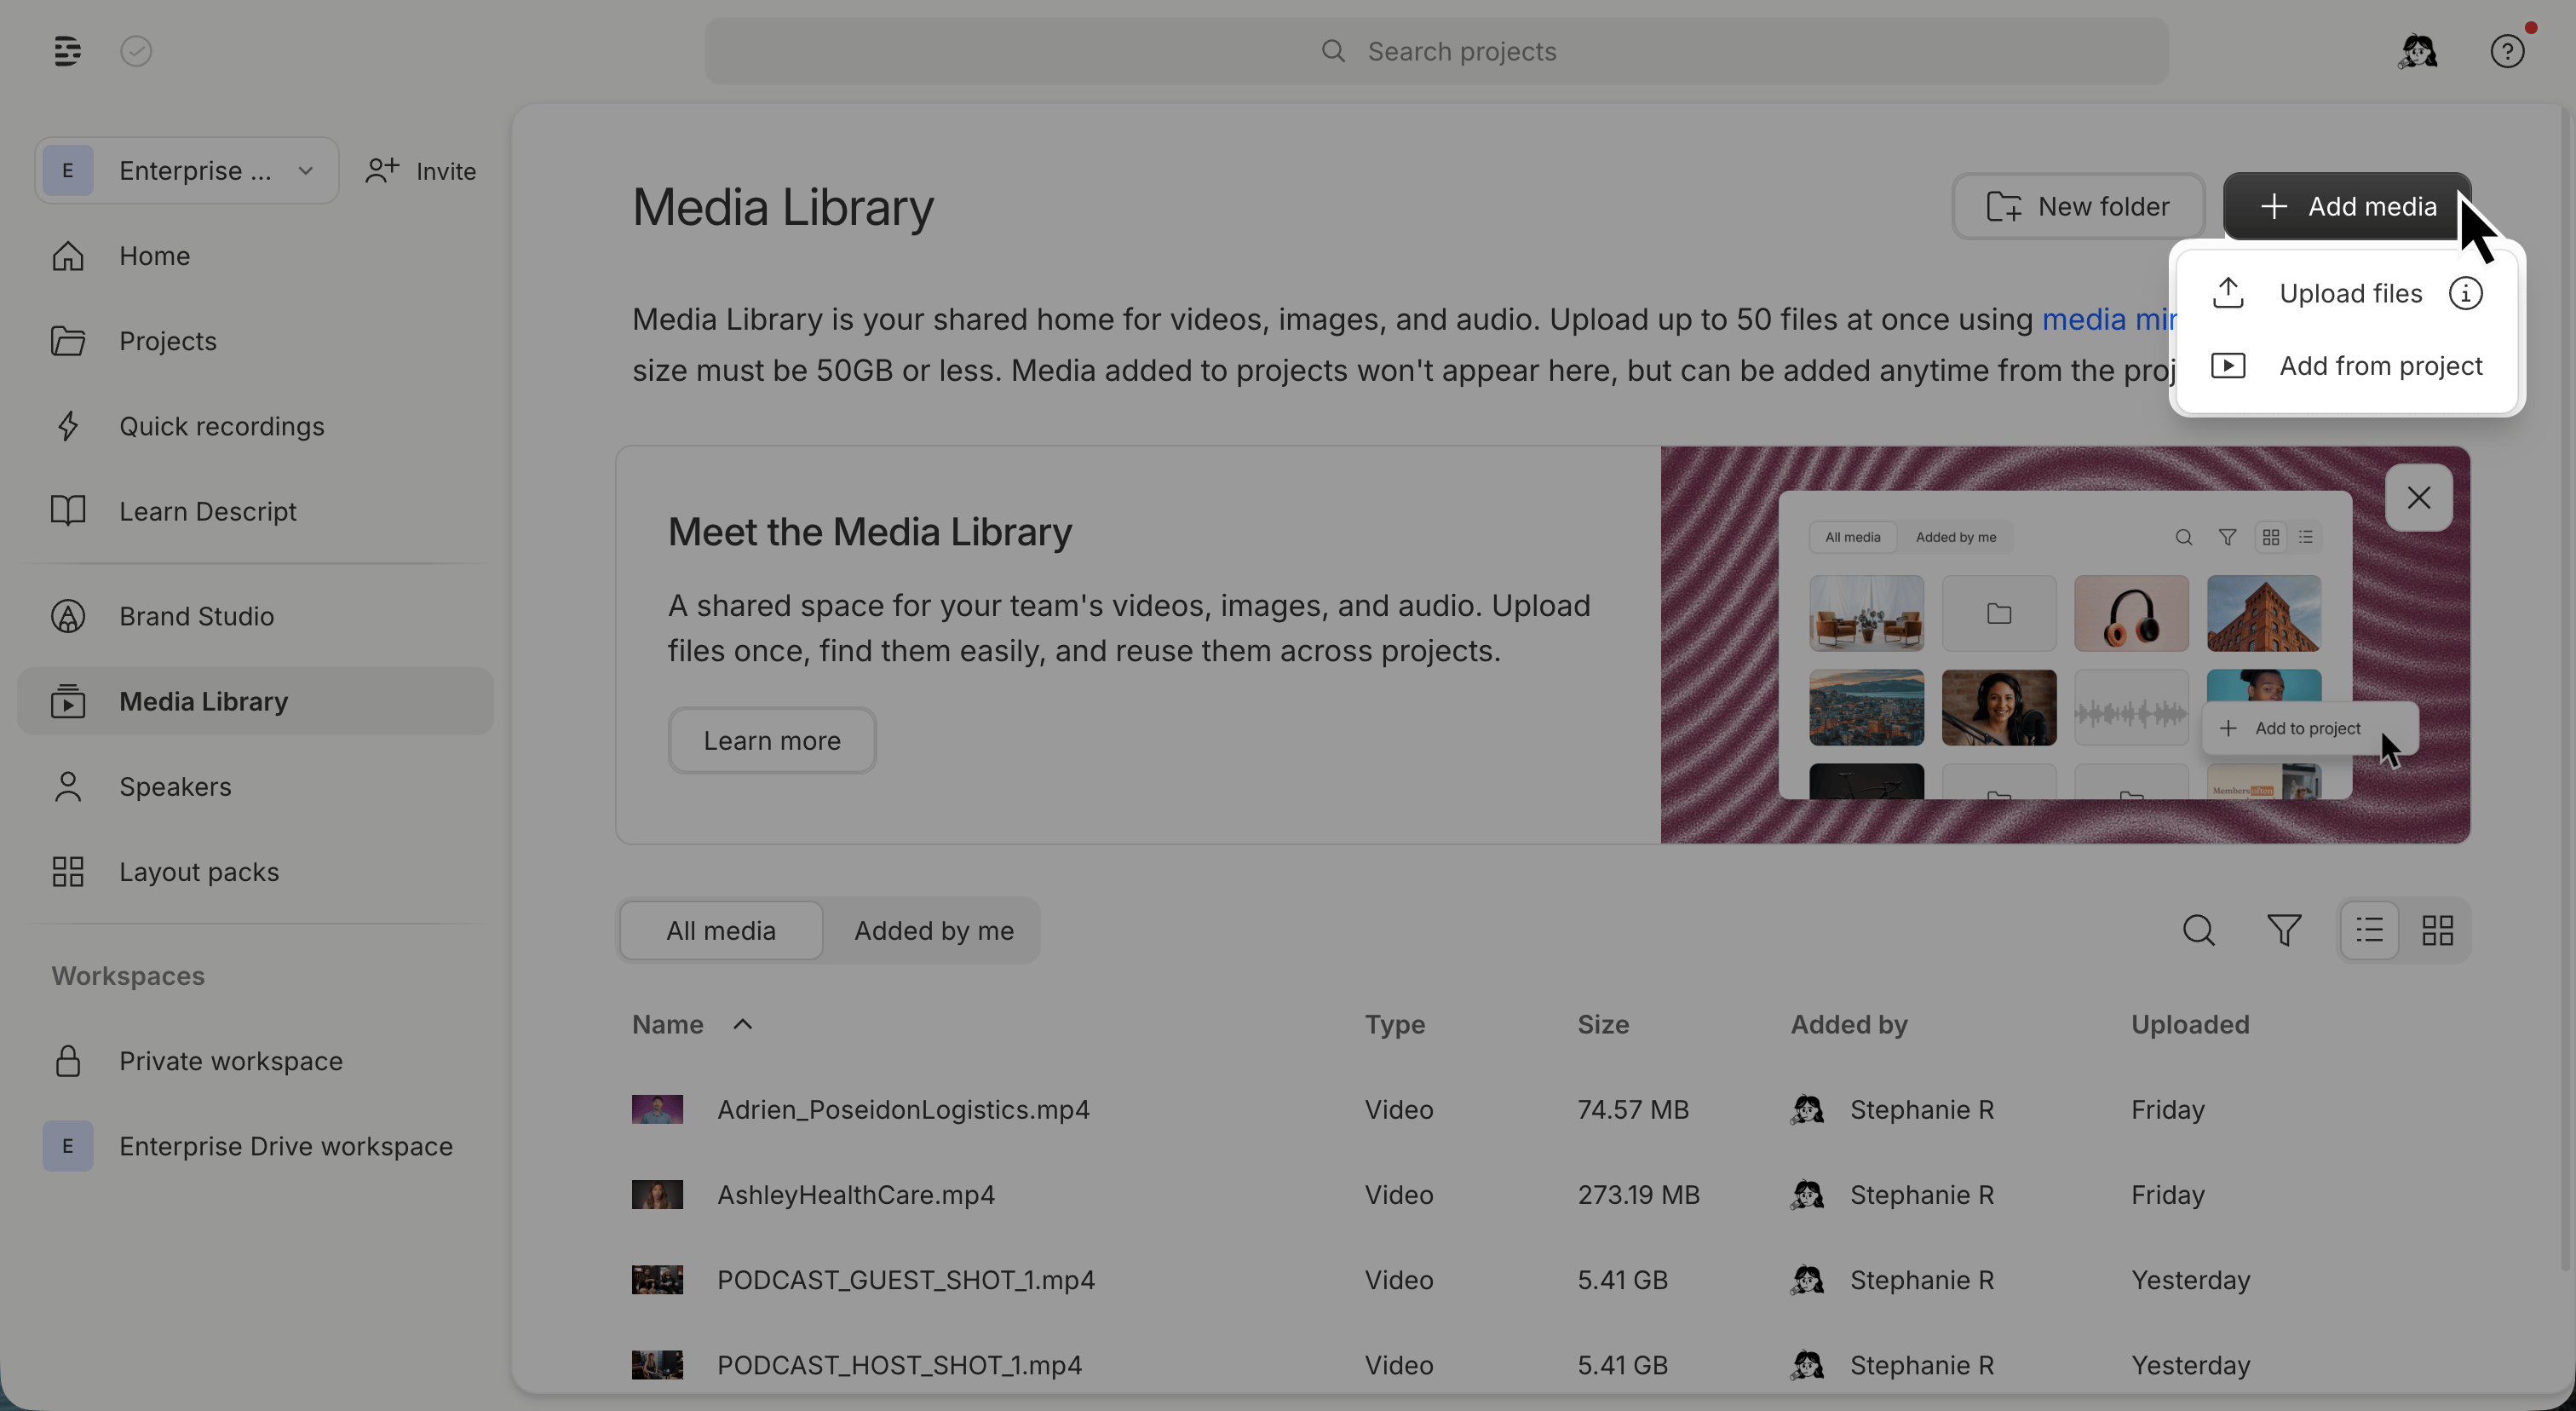
How media minutes workMedia minutes are deducted when you first upload a file—whether you upload it directly to the Media library or to a project. After that initial upload, you can add the file to as many projects as you want using the Media library or the import from another project feature without using additional media minutes.Manually uploading the same file to multiple projects (without using Media library or importing from another project) will deduct media minutes for each upload. Learn more about media minutes.
Organize with folders
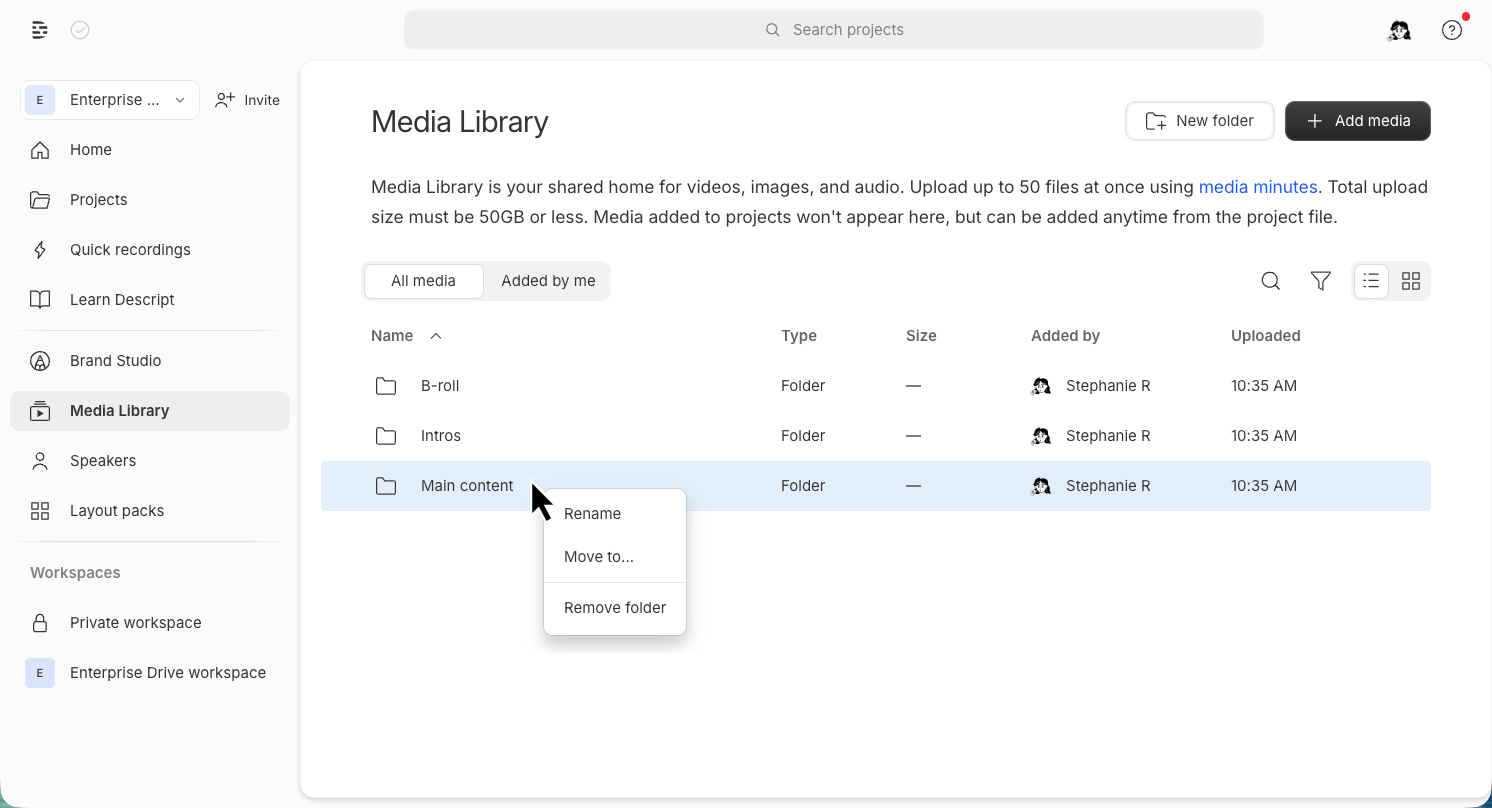
Create folders to group related files:- Click New folder, name it, and press Enter.
- Drag files into folders, or right-click a file and select Move.
- Create subfolders inside existing folders.
- Right-click a file or folder and select Rename. You can also copy a link, rename, move, or delete the current folder using the options menu in the folder header.
Search
To find any file across your entire drive — including Media library files — use the global search bar at the top of the app. It searches by filename, transcript content, and owner name. To filter what’s visible inside the Media library view, use the Audio, Video, or Image buttons at the top of the view. Filters apply only to content in the current folder. Folders always appear in your view, even when filtering, so you can navigate into them.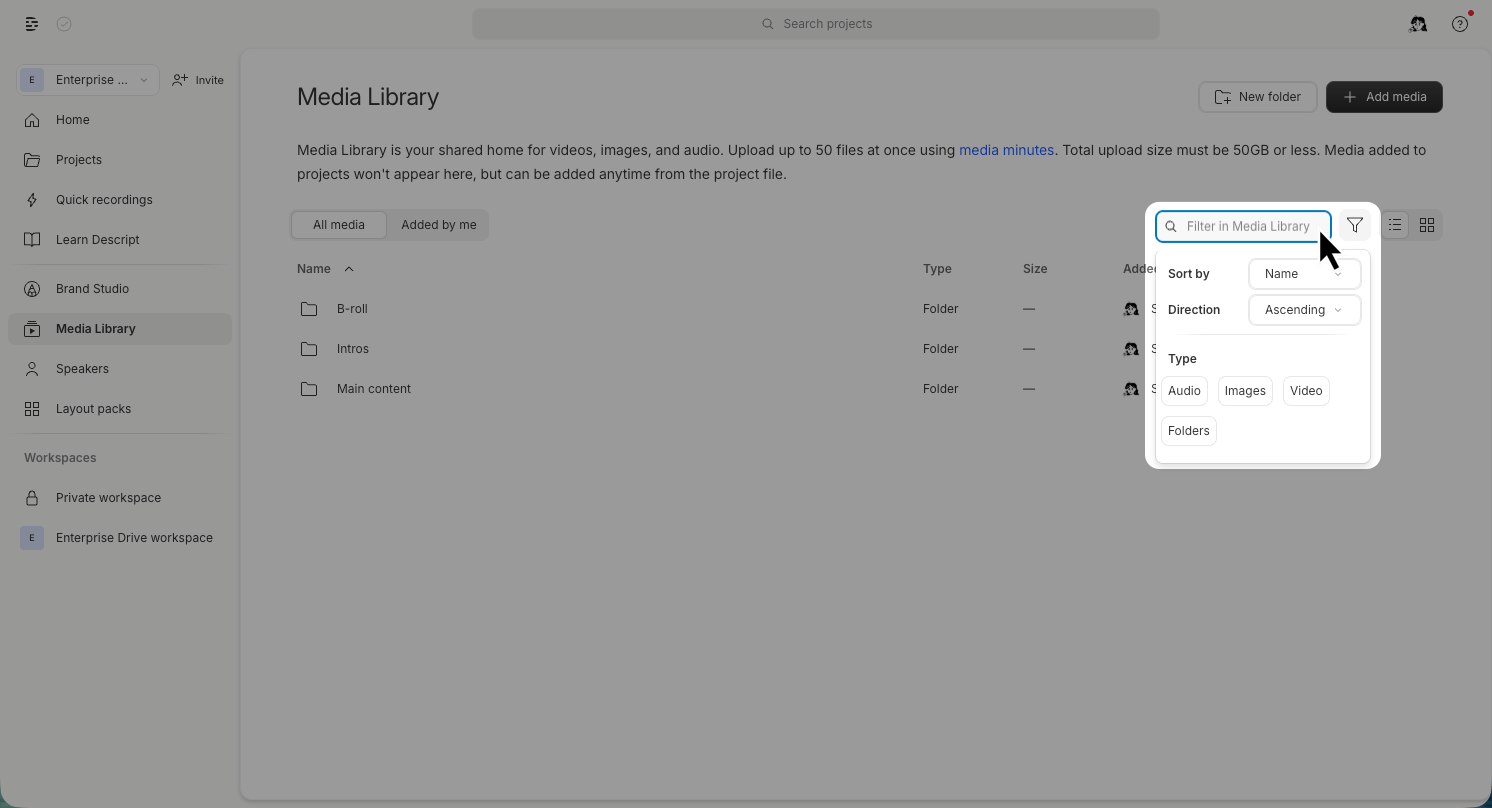
Remove files
Right-click a file or folder and select Remove from media library. You can also remove the current folder by clicking the Folder options button in the header and selecting Remove folder. Removing a file from the media library does not delete it from projects where it’s already in use.Use Media library files in projects
After you add media to the Media library, you can reuse it in any project. Open a project and add files from the Media library by clicking the Import from media library button in an empty composition. Adding a file to a project from the drive’s Media library will not deduct additional media minutes. Audio and video files will transcribe when added to a project. If a transcript and speaker labels were already generated in the Media library, they will be included automatically. Learn how to add Media library files to a project →Access and permissions
All drive members can view and use files stored in the media library. Editors can:- Upload and organize media
- Add media to projects
- Remove files from media library
- Browse and preview media
Media library vs Brand Studio
Media library is a shared storage space for reusable content. Editors can upload and organize files as needed. Brand Studio centralizes brand control. Admins and brand managers define approved logos, fonts, colors, layouts, and templates. When to use each:- Use media library for shared content like intros, B-roll, music beds, and graphics.
- Use Brand Studio to manage approved brand assets and enforce design standards.