

Tip: Use translate, dub speech, and lip sync as a final step in your workflow.Unlike features you can toggle on and off, these tools create a new composition with new audio (and new video if you use lip sync). If you make changes to your project after translating, you’ll need to re-translate and use more AI credits.
How to enable lip sync
When dubbing a composition, toggle on the Lip-sync video option in the Translate panel. Click here for step-by-step instructions for translating a composition with dubbed speech.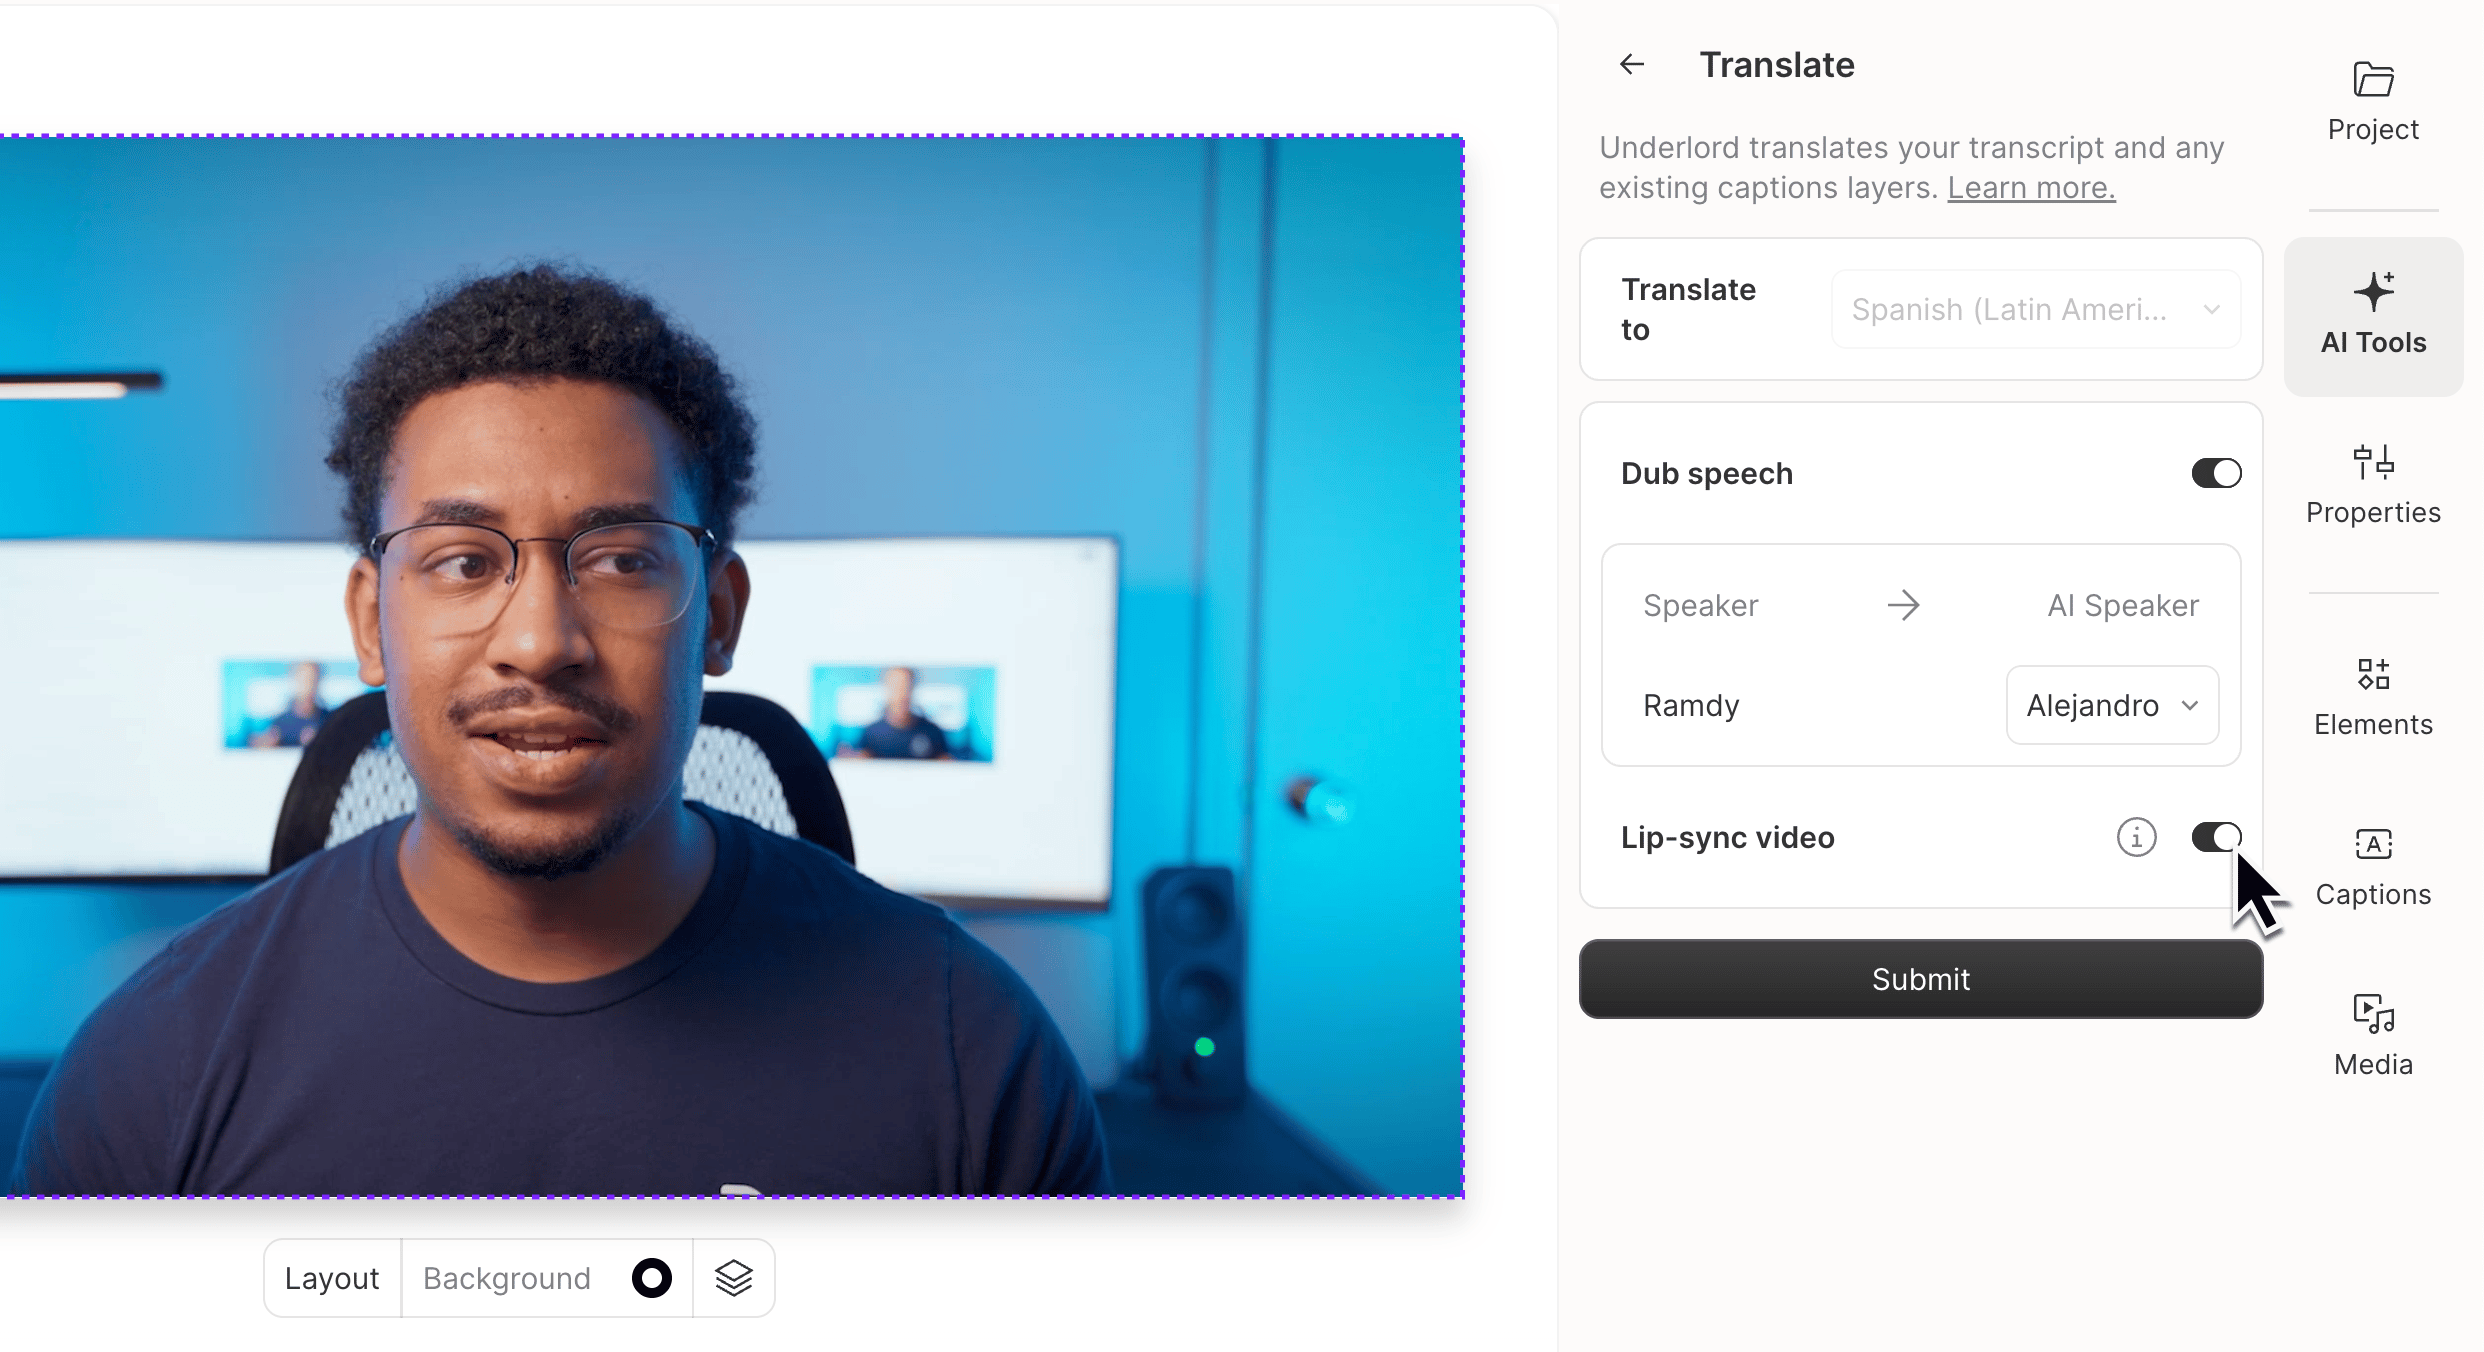
Business and Enterprise users: translate, dub, and apply lip sync one step at a timeBusiness and Enterprise users have access to translation proofread. To use AI credits most efficiently, translate the captions first, review and correct the translation using translation proofread, then apply dub speech and lip sync. This ensures your translation is accurate before you spend credits on dubbing and lip sync.
Best practices for using lip sync
- Use footage of one person speaking on screen at a time
- Position the speaker facing the camera directly—avoid angled or profile shots
- Use clear, well-lit footage with the speaker’s face clearly visible
- Minimize obstructions around the mouth (hands, microphones, hair)
Lip sync limitations
- Not supported with multiple speakers or multi-track Sequences: Lip sync is designed for single speaker talking head videos
- Not compatible with avatars: Lip sync can only be applied to non-avatar video.
- Video quality and framing: Lip sync works best with mid-range shots. Very small faces, low-resolution footage, or extreme close-ups may produce less crisp results.
- Stylized or animated footage: results may be less accurate with non-standard or heavily animated footage.
- Heavy edits: Lip sync can struggle when it’s applied to heavily edited projects.