
Usage noteOn current plans, this workflow uses Media Minutes. Minutes draw down whenever you upload or record media in Descript.Legacy and Sunset plans track usage differently. See our Understanding your Legacy and Sunset plan guide for details.
Access the Screen Recorder
To access the Screen Recorder, click the Descript icon. For Windows users, this will be located in the notifications area at the bottom of your screen; for Mac users, you’ll see this in the menu bar at the top of your screen on Mac.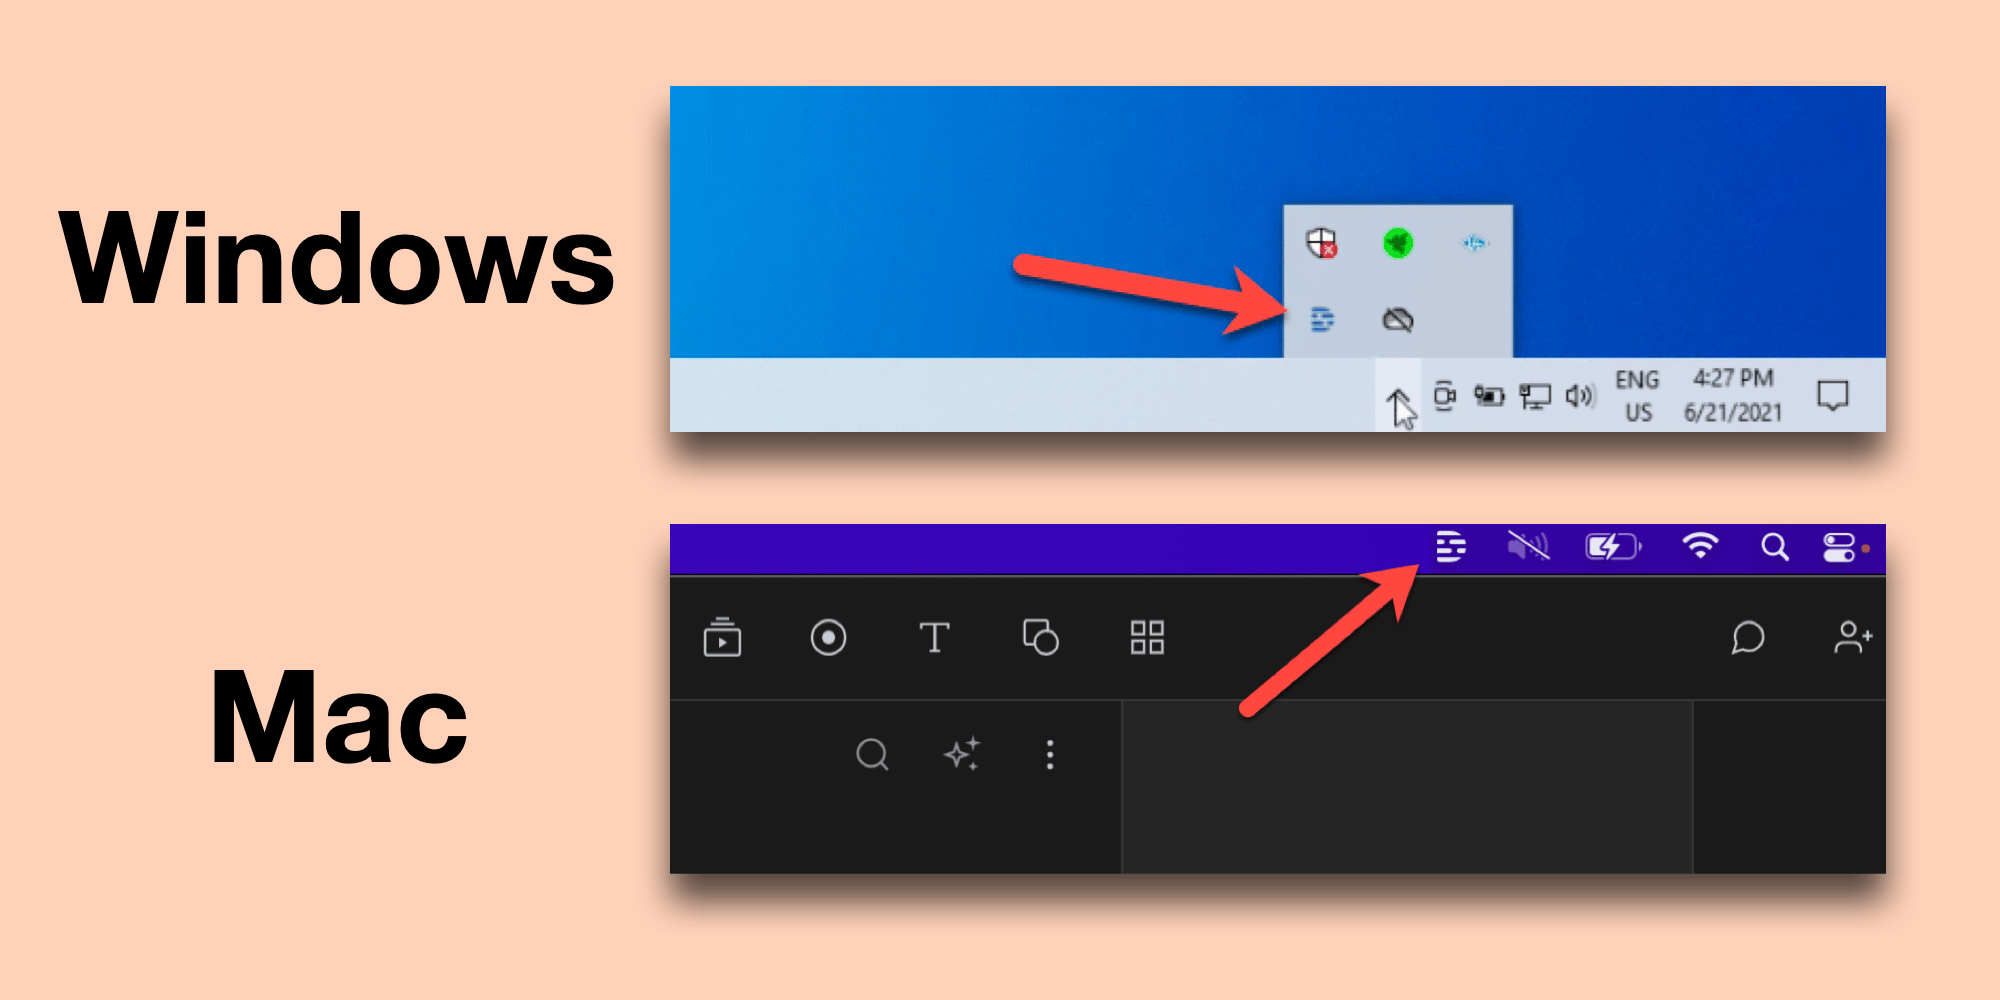
(Optional) Install the Screen Recorder shortcut directly to your device
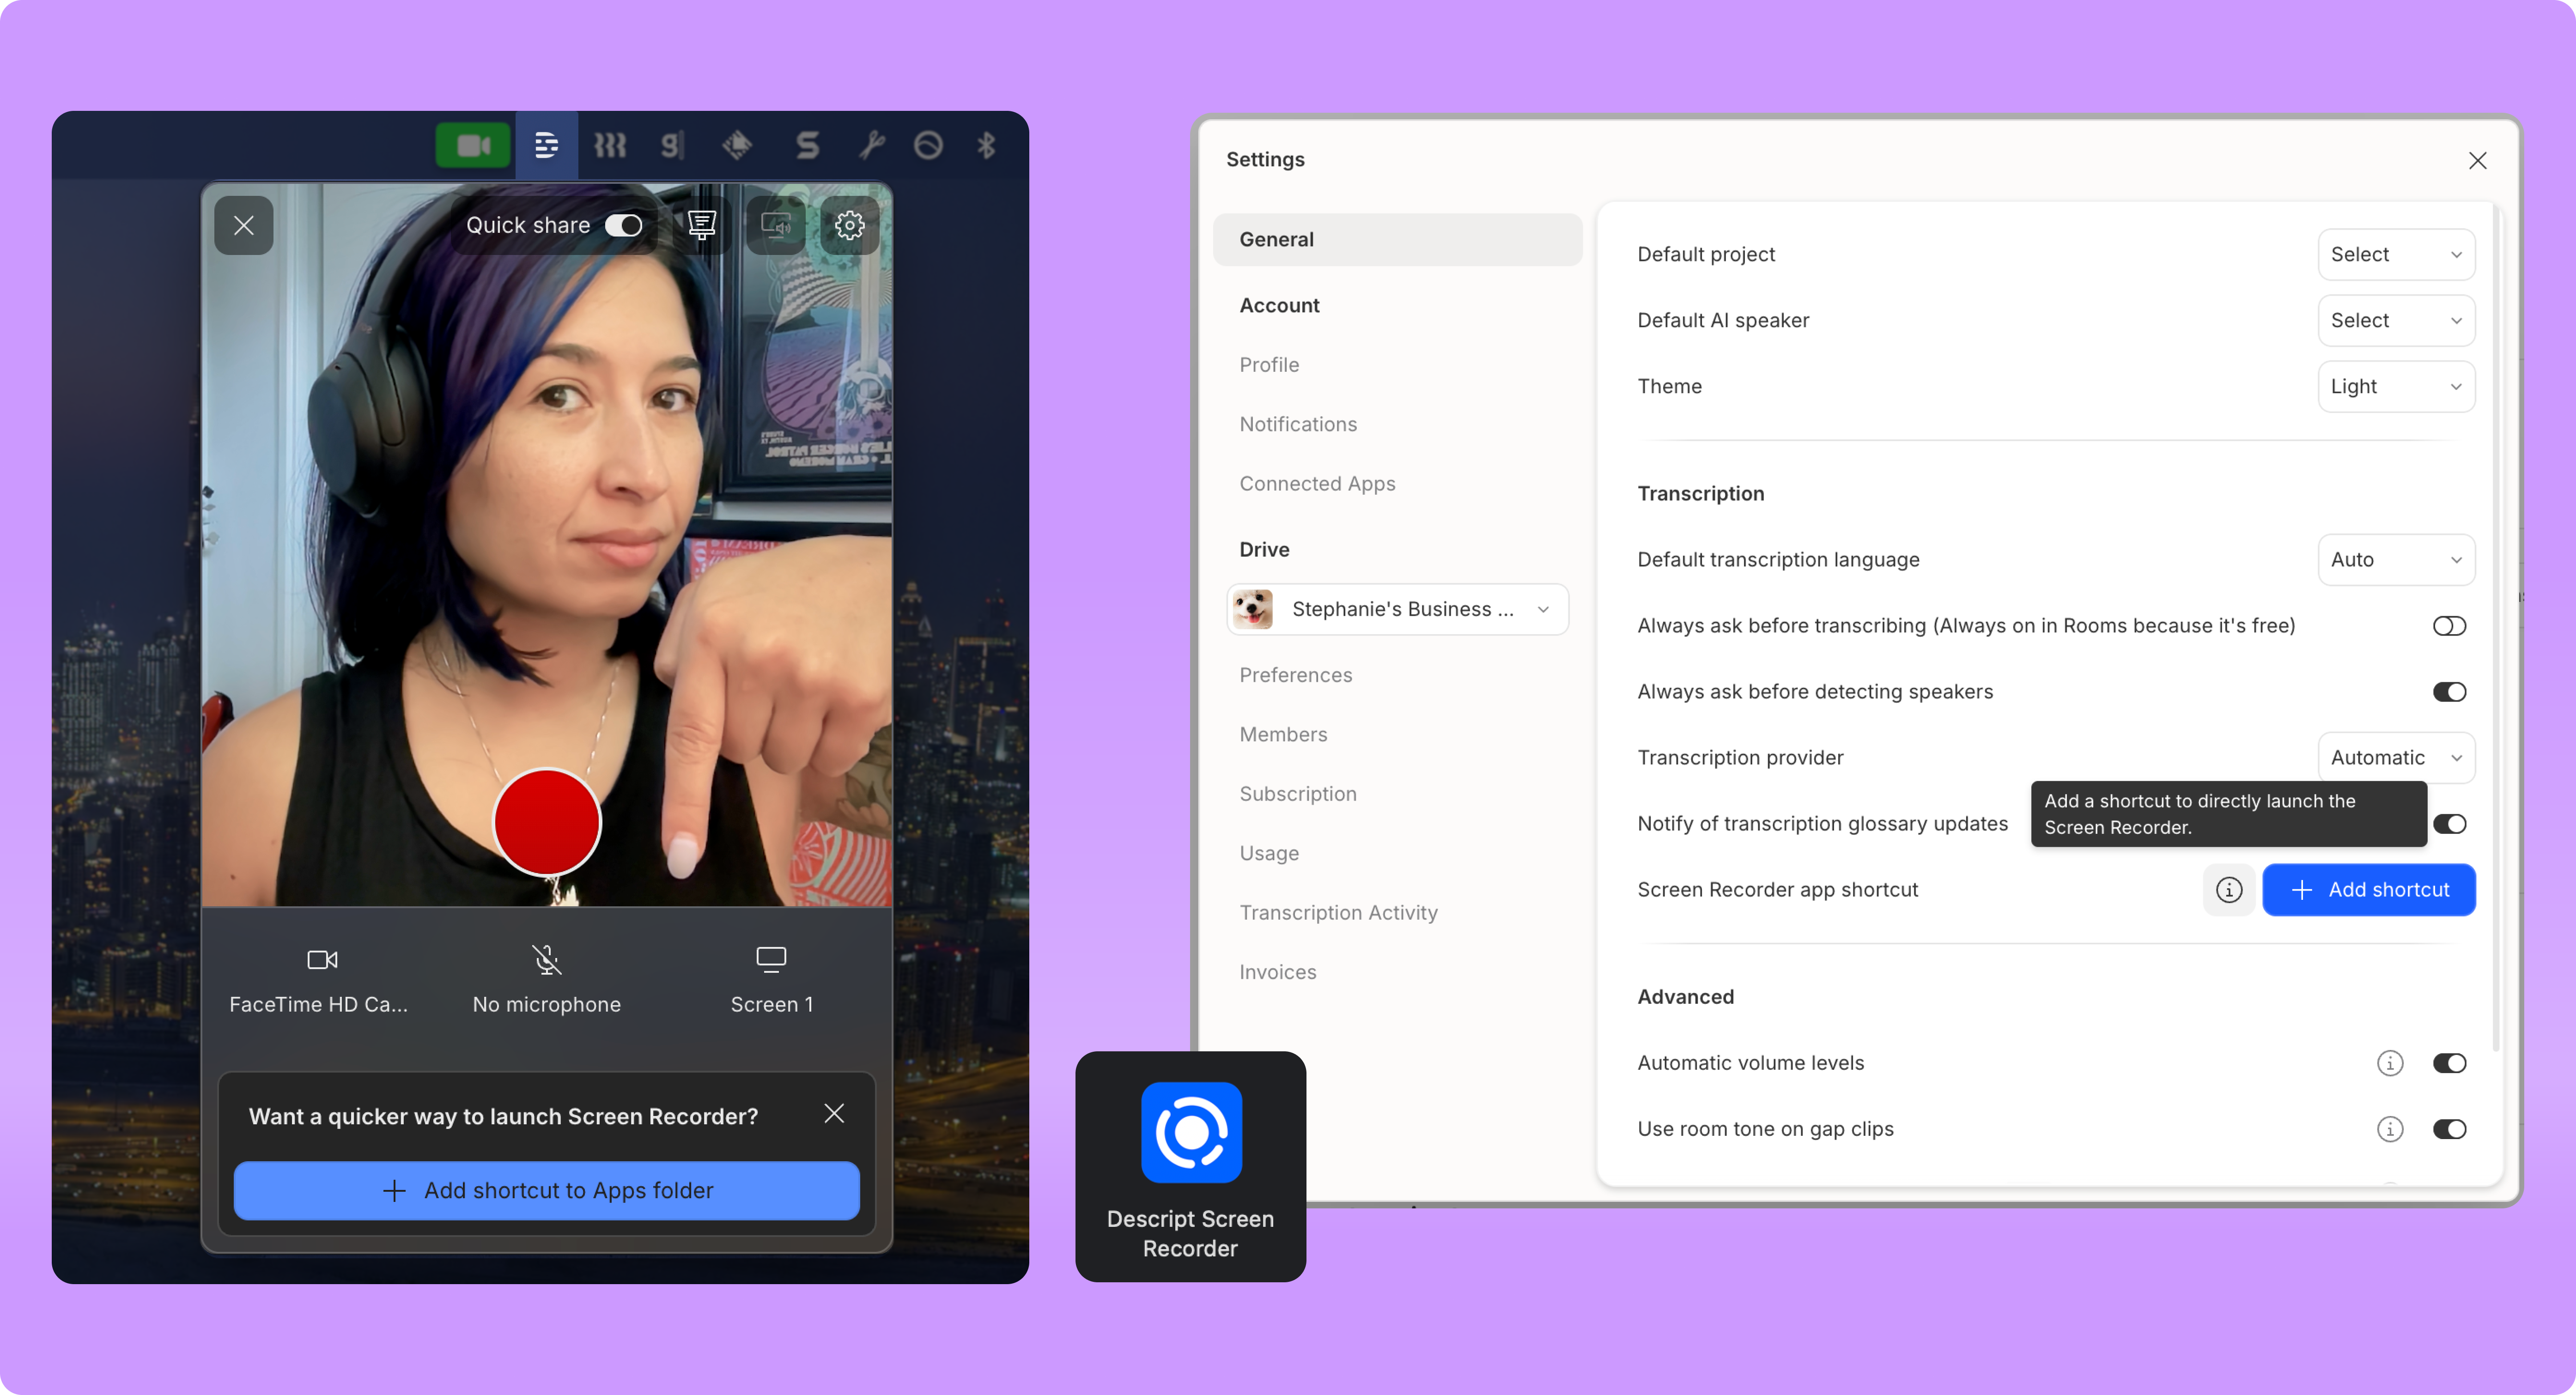
The Descript Screen Recorder can be installed as a standalone app on your device so you can start a screen recording without opening the full Descript editor.To add the launcher:
- Open the Screen Recorder.
- Click + Add Shortcut to apps folder at the bottom of the recorder dock. You can also install it from App Settings under the General tab.
Set up the Screen Recorder
Configure your system permissions
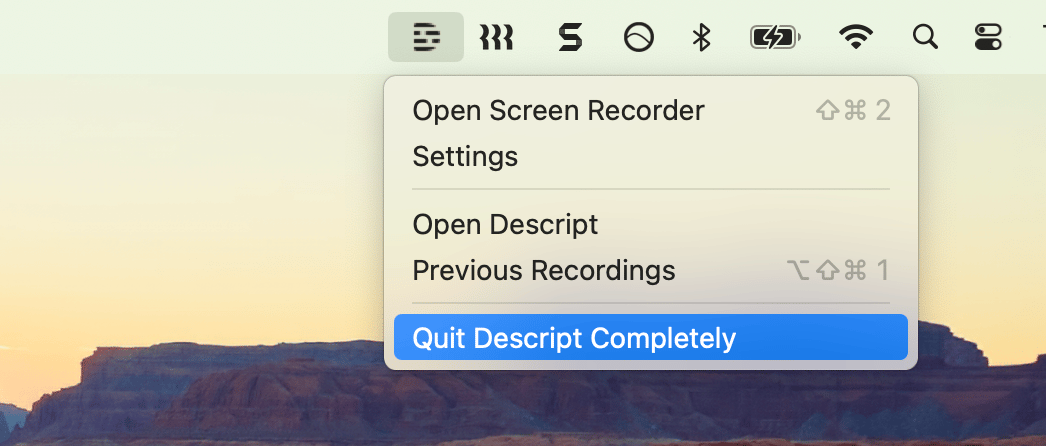
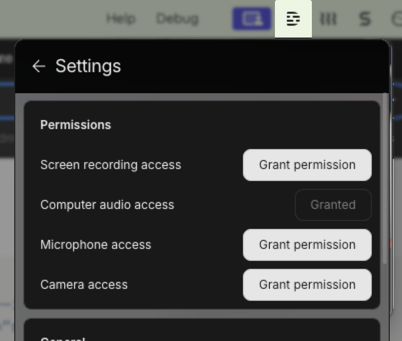
For Descript to access the necessary hardware on macOS, you must grant access to the camera, microphone, and screen recording options in the Security & Privacy preferences on your device.- Click on the Descript icon in the menubar, then select the

- Under Permissions, click the Grant permission buttons for screen recording, computer audio, microphone, and camera.
- This will open your system settings — enable access for Descript. Exact steps will depend on your device OS.
- Once access is granted, you’ll need to quit Descript completely and relaunch the application for the changes to take effect.
Audio and video inputs
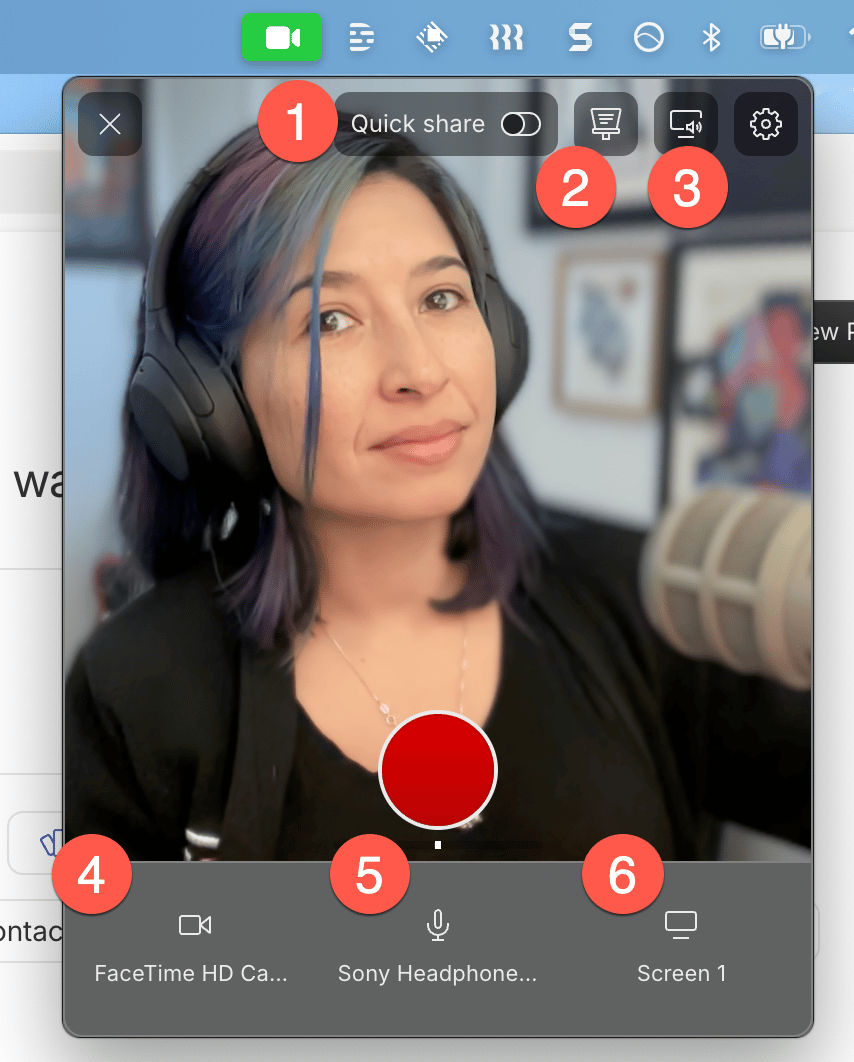
- Quick Share: This setting controls where your recording goes and how it’s structured in Descript
- When toggled on: your recording is instantly published to a Descript share page once you stop recording. All inputs (camera, mic, screen) are combined into a single track for simple playback and export
- When toggled off: Your recording opens in the Descript editor as a project (not published automatically). Each input—screen, mic, camera—is added as its own track, giving you full editing flexibility
- Teleprompter: Opens the teleprompter feature. Learn more about how to use Descript’s built-in teleprompter
- **Computer audio:**Record the sound coming from your system.
- Screen recording must be enabled to capture computer audio. You cannot record computer audio with only camera or microphone inputs.
- Mac users: Computer audio is supported on macOS 10.14 and higher.



Recording via Descript for Web?If you’re using Descript for Web, you can still record computer audio using the Editor Recorder with a screen input—but it will only capture audio from the browser tab you’re recording, not system-wide audio.
Screen region recording
To record a specific region of your screen, click the screen input button at the bottom right-hand corner of the dock window. Select Screen Region from the dropdown menu. Click and drag to select a region to record. Enter values in the height and width fields and/or use the dropdown menu to select from available aspect ratio presets.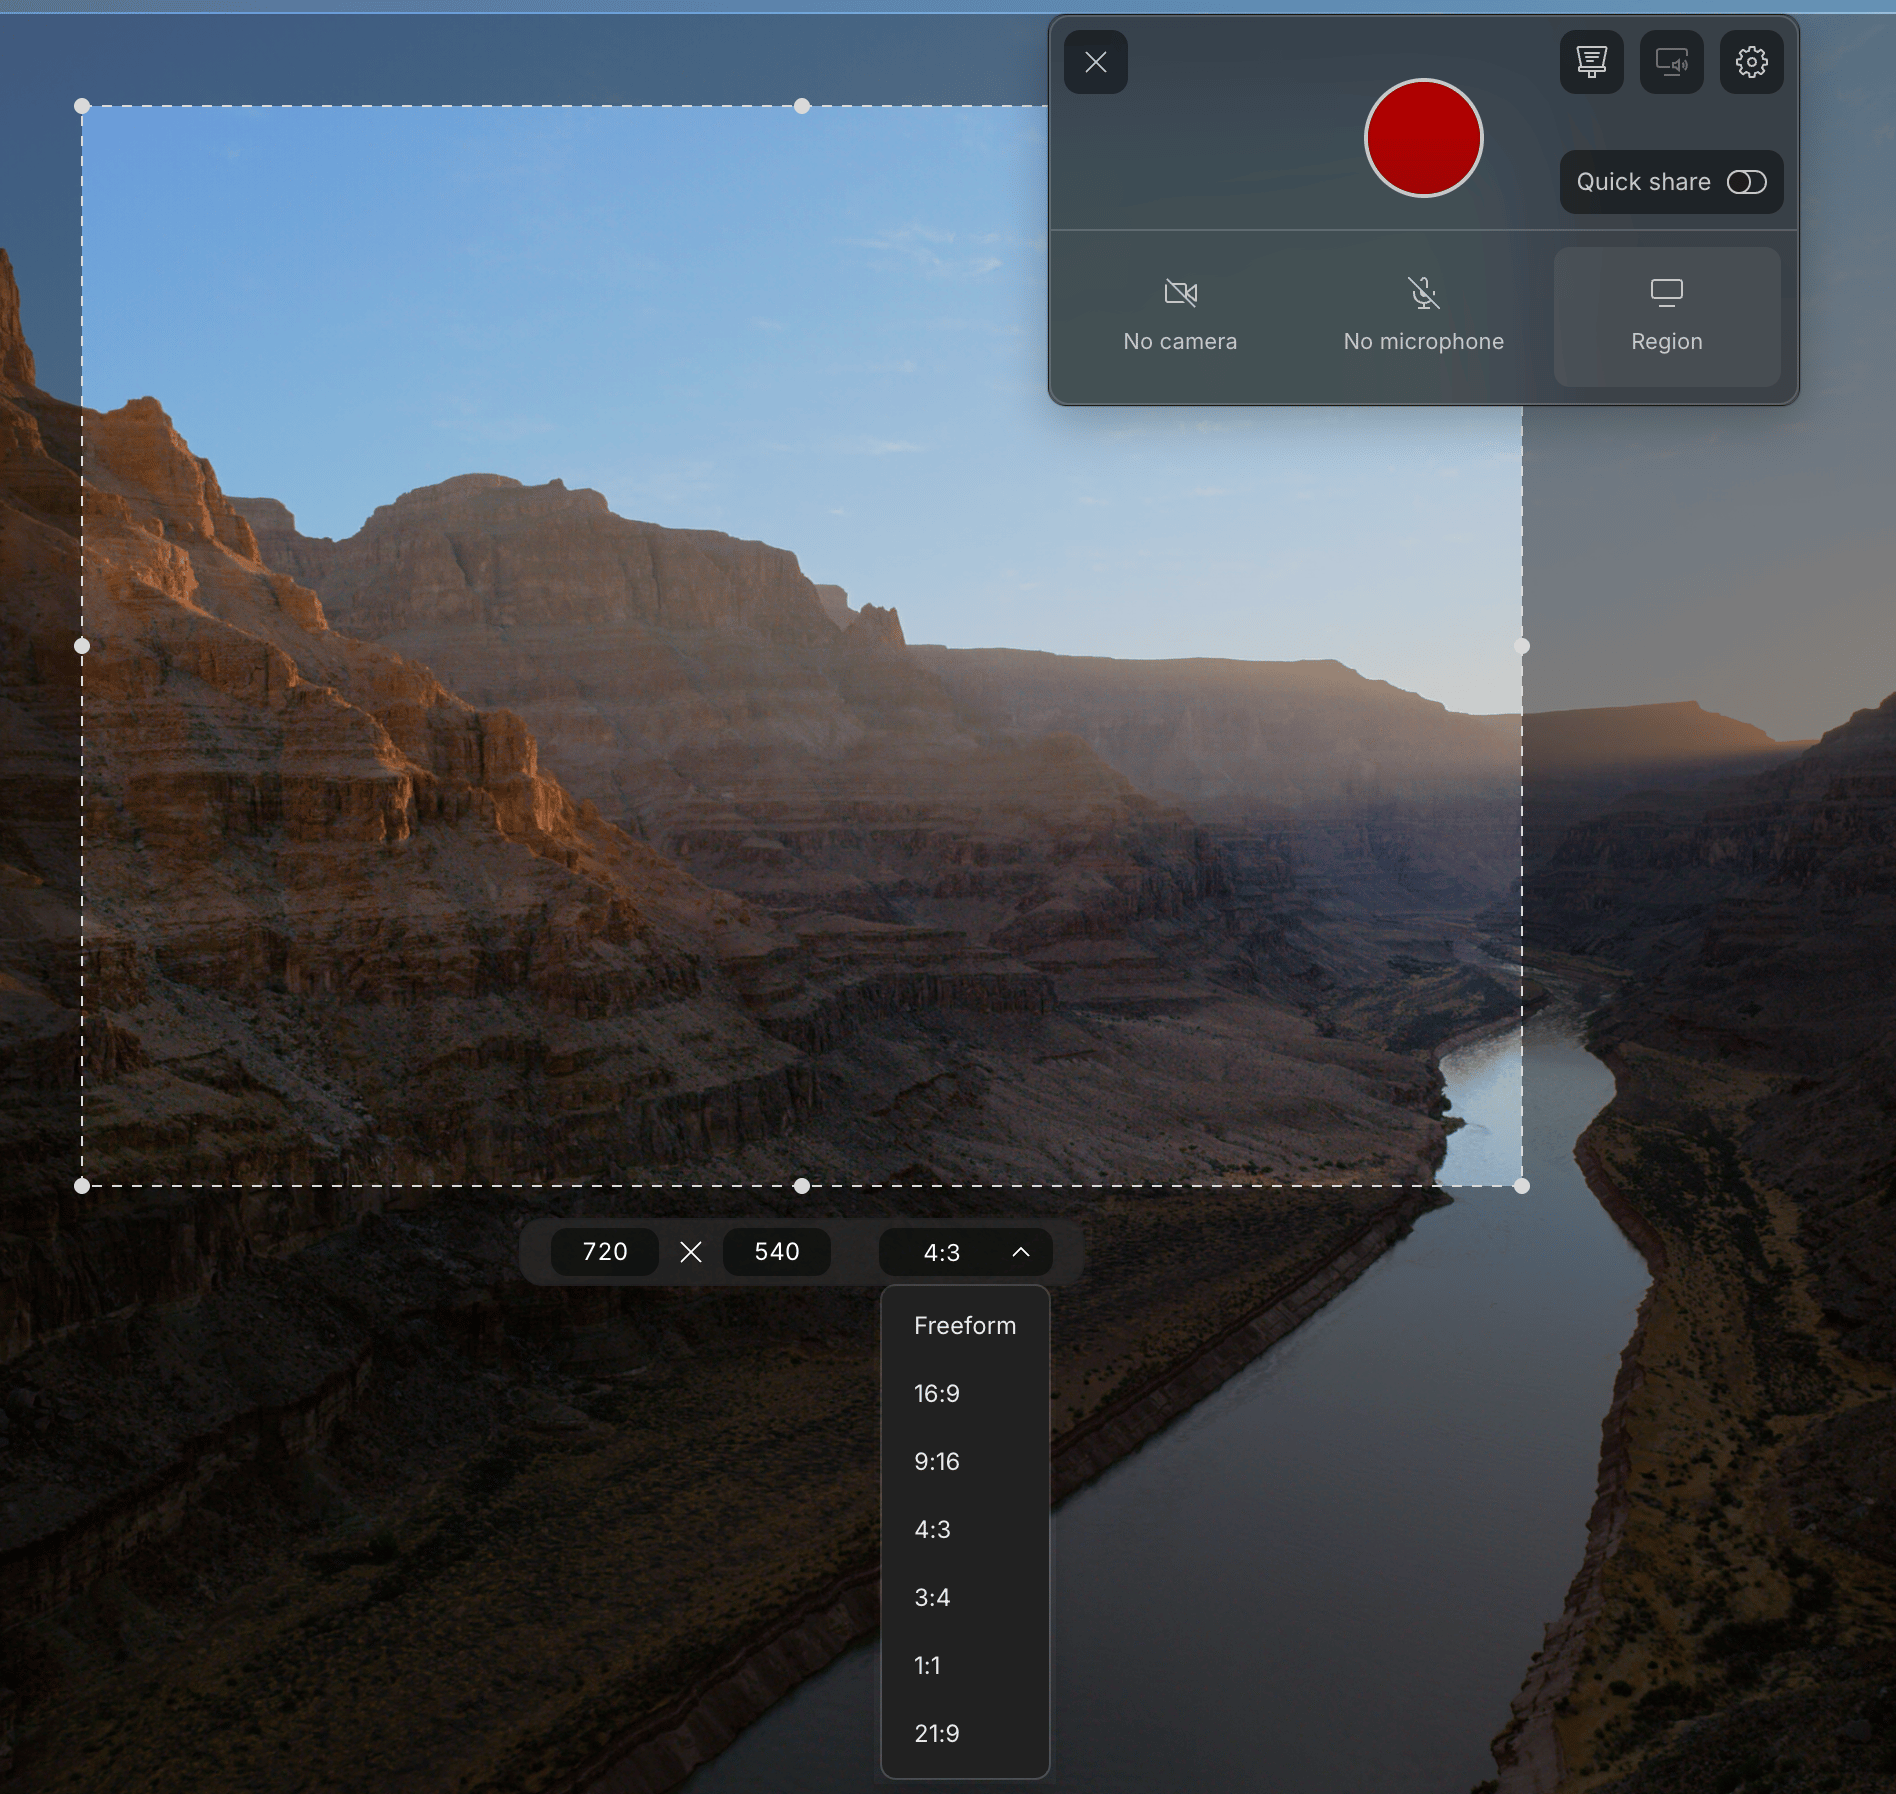
Adjust the Screen Recorder Settings
Access these by clicking on theCurrent recording limitationsThe Screen Recorder has a maximum duration limit of 4 hours on both Windows and macOS. Ensure to plan your recording sessions accordingly.Also, Descript does not currently support 4K screen recordings from Windows.
During the recording
Camera recording
During recording, you’ll be able to preview your camera feed via the Dock Window. This will remain on screen and you can continue to reposition and resize it while recording. For now, the Dock Window will be visible in your final recording–keep this is mind if recording your full screen.What to expect during recording
When you record, Descript uploads your content to the cloud in the background. A small notification in the bottom-right corner shows your upload progress.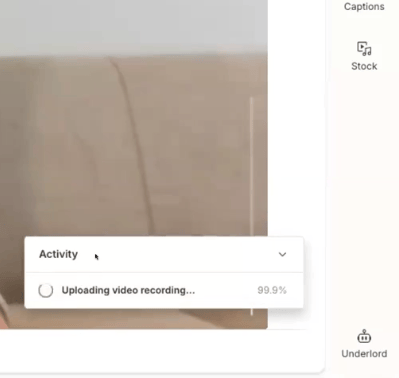
The Dock Window
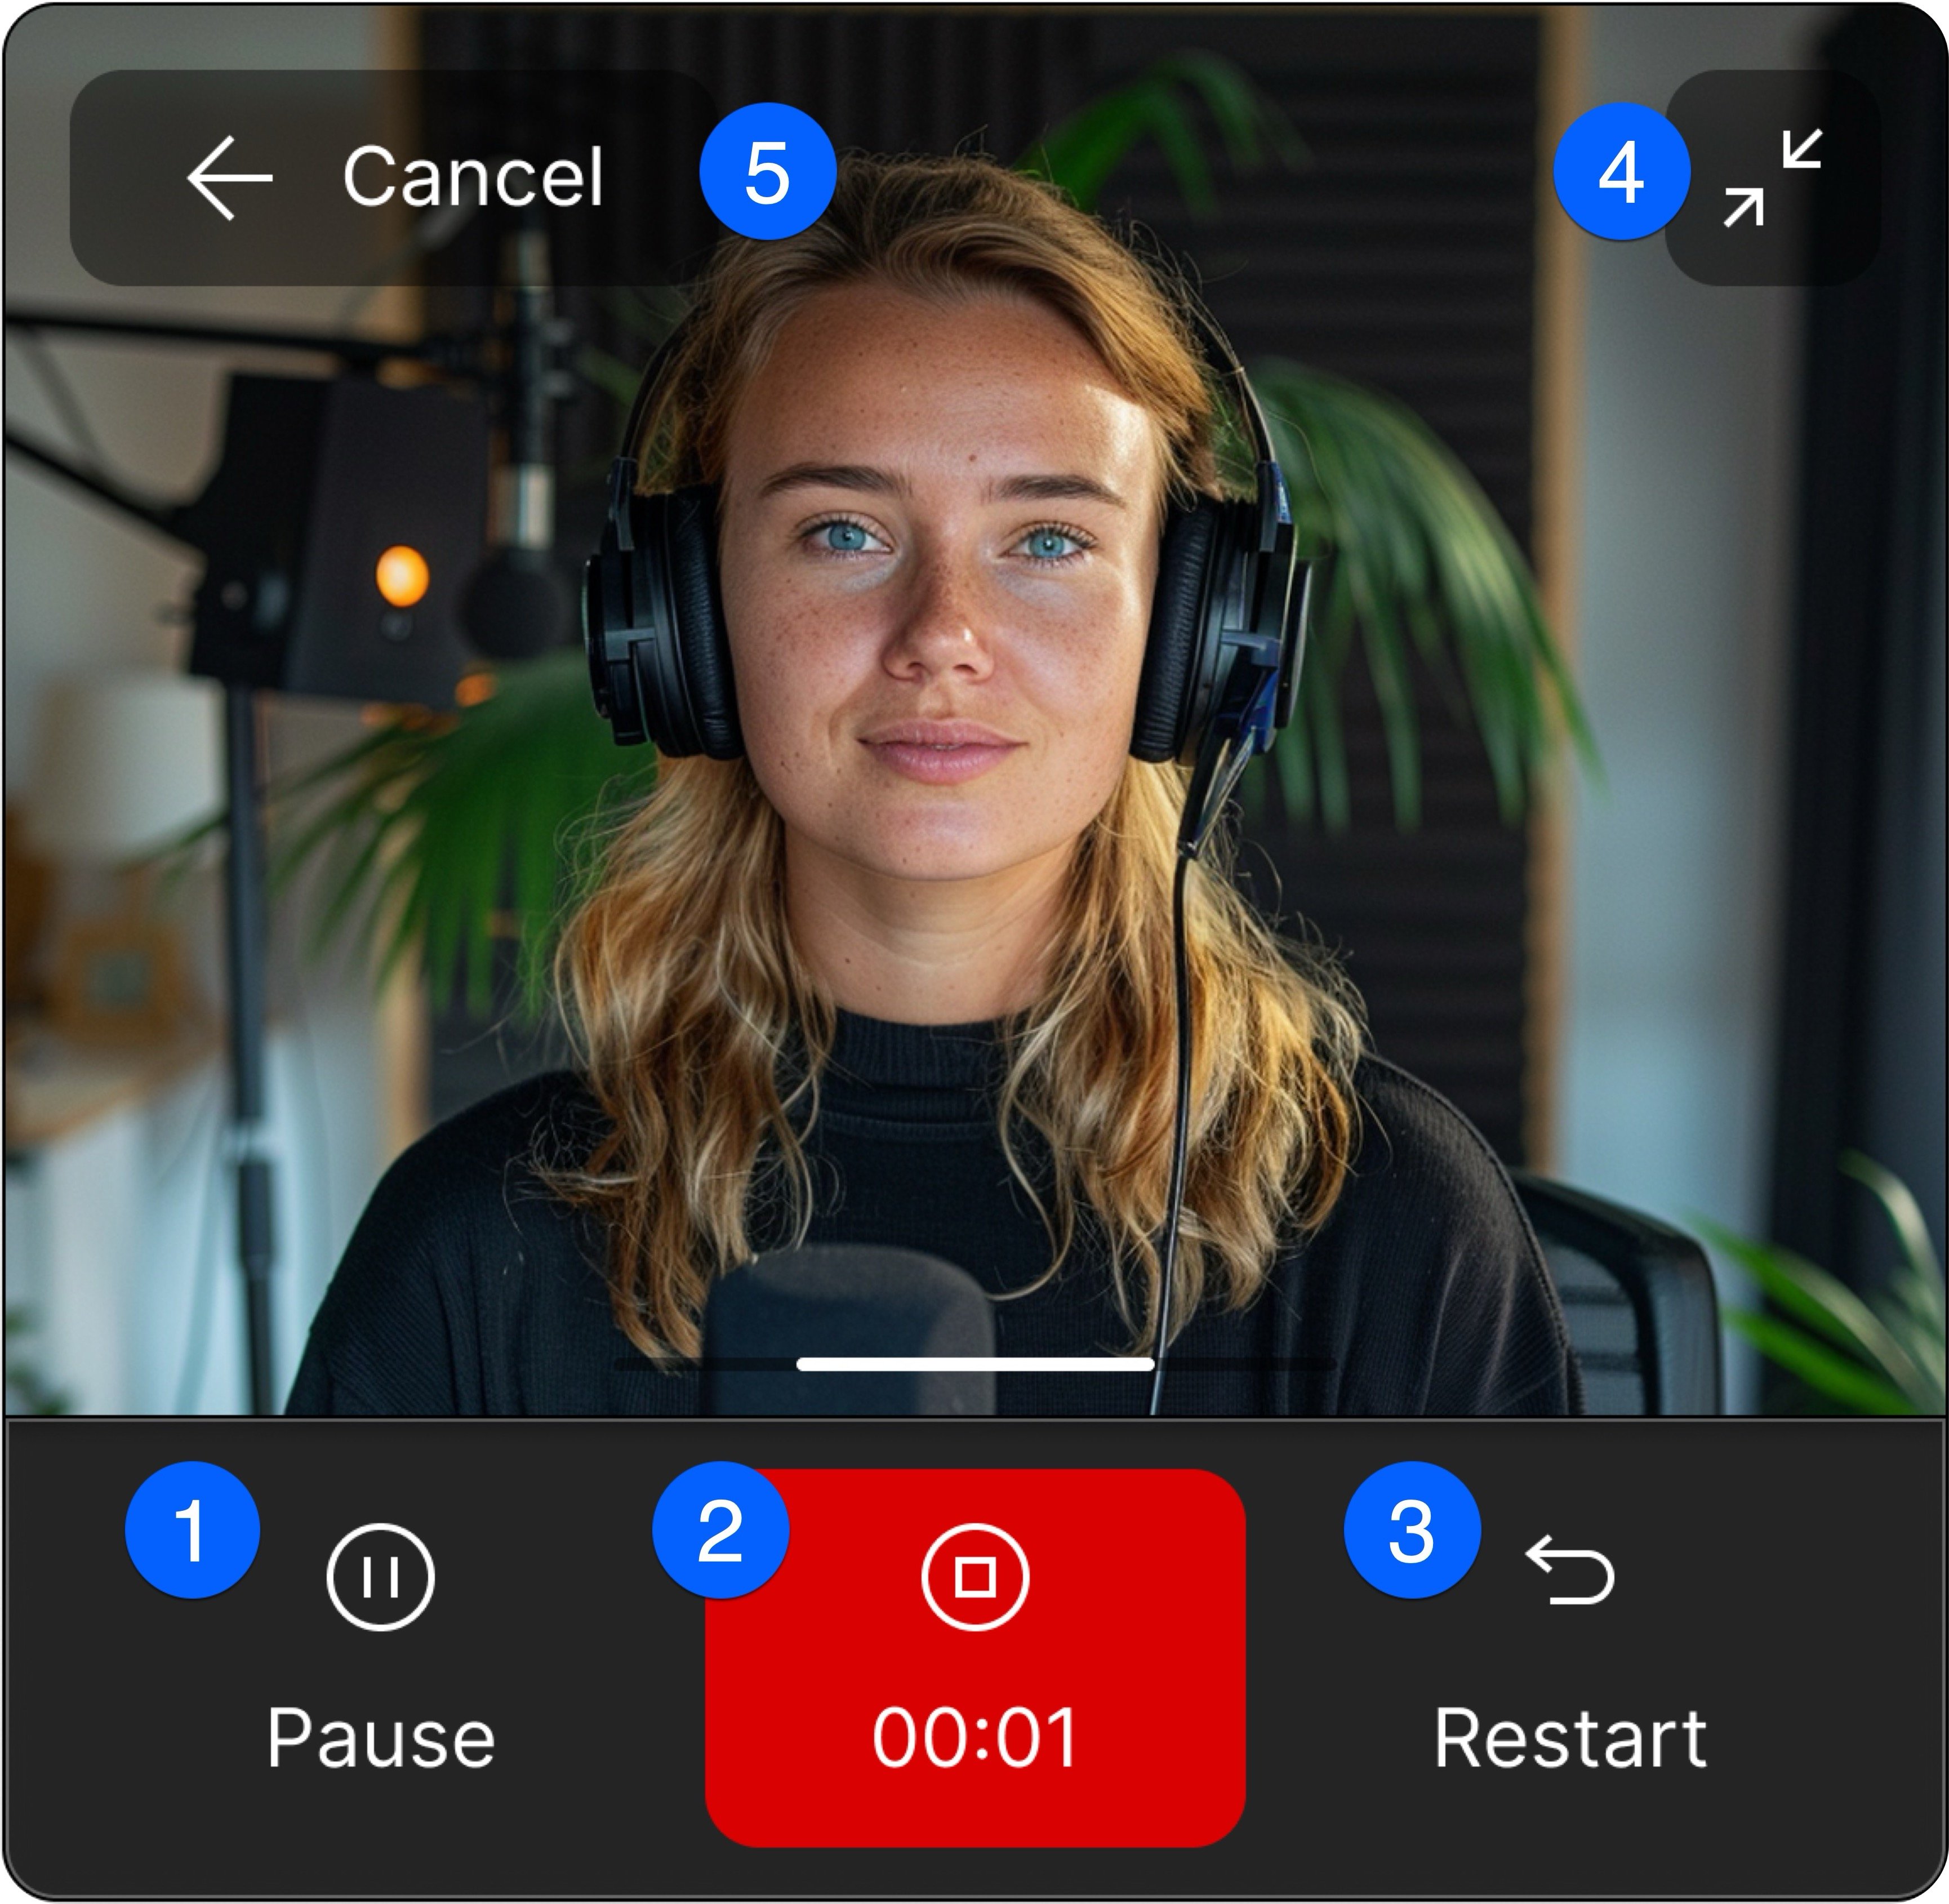


- Restart: Restarts the recording from the beginning (deletes current progress).
- Minimize: Minimizes/hides the camera in the Dock Window.
- Cancel: Cancels and deletes the active recording.
Close the Screen Recorder
If you have Run in background enabled, you’ll need to close Descript entirely to stop the Screen Recorder from running. Right-click the