

Before you beginMake sure your file is in a supported format and size. Descript works with most common audio, video, and image types, plus PDF slide decks. See supported file types
Choose how to import your file
Each import method has its own guide. Choose the one that matches where your file is coming from:Upload from your computer
Add locally saved audio, video, or image files to your project.
Import files from another project
Add content from an existing Descript project.
Import files from the Media Library
Add content already in the drive Media Library.
Import from Zoom
Connect your Zoom account to import cloud recordings directly into your project or your drive’s Media library.
Import from Google Drive
Import media files directly from Google Drive into your project or your drive’s Media library. Google Drive imports are only available in Descript for Web (not in the desktop app).
Import a slide deck (PDF)
Drag and drop your PDF file into your project. Descript turns each slide into a media layer you can add to scenes and timelines.
Import with Edit in Descript
Bring recordings from partner tools into Descript without downloading and re-uploading.
Automate an import
Use Zapier, the Descript API, or an AI assistant through MCP.
Track progress and cancel uploads
When you upload files into Descript, the Activity panel in the corner of the app shows what’s happening with each file, no matter which import method you used.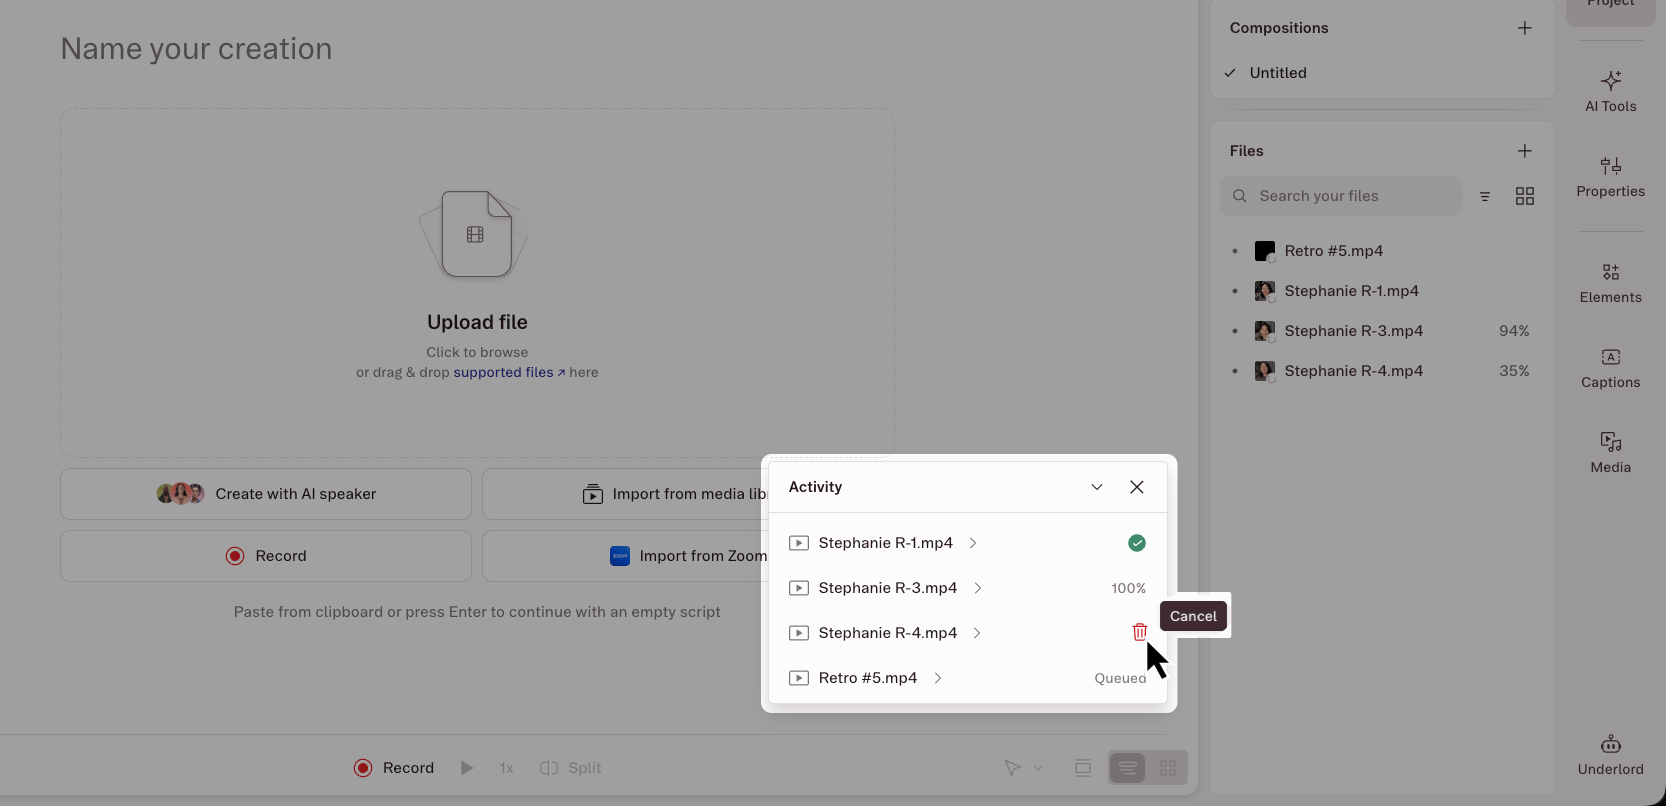
Next steps after uploading
When you upload a file, it’s stored in the Files section of the Project panel in the right-hand sidebar. From there:- Add it to the script to transcribe the speech audio and edit by text. Learn more about editing like a doc
- Use it as a layer in the timeline — for visuals, background music, or B-roll. Learn more about layers