> ## Documentation Index
> Fetch the complete documentation index at: https://help.descript.com/llms.txt
> Use this file to discover all available pages before exploring further.
# How to Use Avatars in Descript
> Step-by-step instructions to pair an avatar with text-to-speech, your voice, or imported audio.
Avatars put an on-screen presenter in your video without you recording on camera. Pick where their voice comes from, and Descript handles the rest.
For an overview of what avatars are and how they work, see [our Avatars Overview guide](/generative-media/overview).
**Usage note**
On current plans, this feature uses **AI Credits**. Learn more about [tracking your Media Minutes and AI Credits](/billing-payments-plans/track-and-understand-your-media-minutes-and-ai-credits).
Legacy and Sunset plans track usage differently. See our [Understanding your Legacy and Sunset plan](/billing-payments-plans/legacy-sunset) guide for details.
## Record in Descript first, then assign an avatar
**Workflow: Avatar + Your recorded voice**
If you want to appear in your video using your own voice—without being on camera—you can record your voice directly in Descript and pair it with an avatar.
1. Open a new project and click **Record** at the bottom of the window.
2. Record your content directly into your Descript composition. [Need help recording? View our recording guide](/record/editor-recorder-overview).
3. After recording, click the **Add speaker** button at the top of the script to apply a speaker label. You’ll have three options:
* Choose an existing custom AI speaker.
* Use one of Descript’s [stock AI speakers](/ai-speech/stock-voices).
* [Create a new custom AI speaker](/ai-speech/custom-speaker).
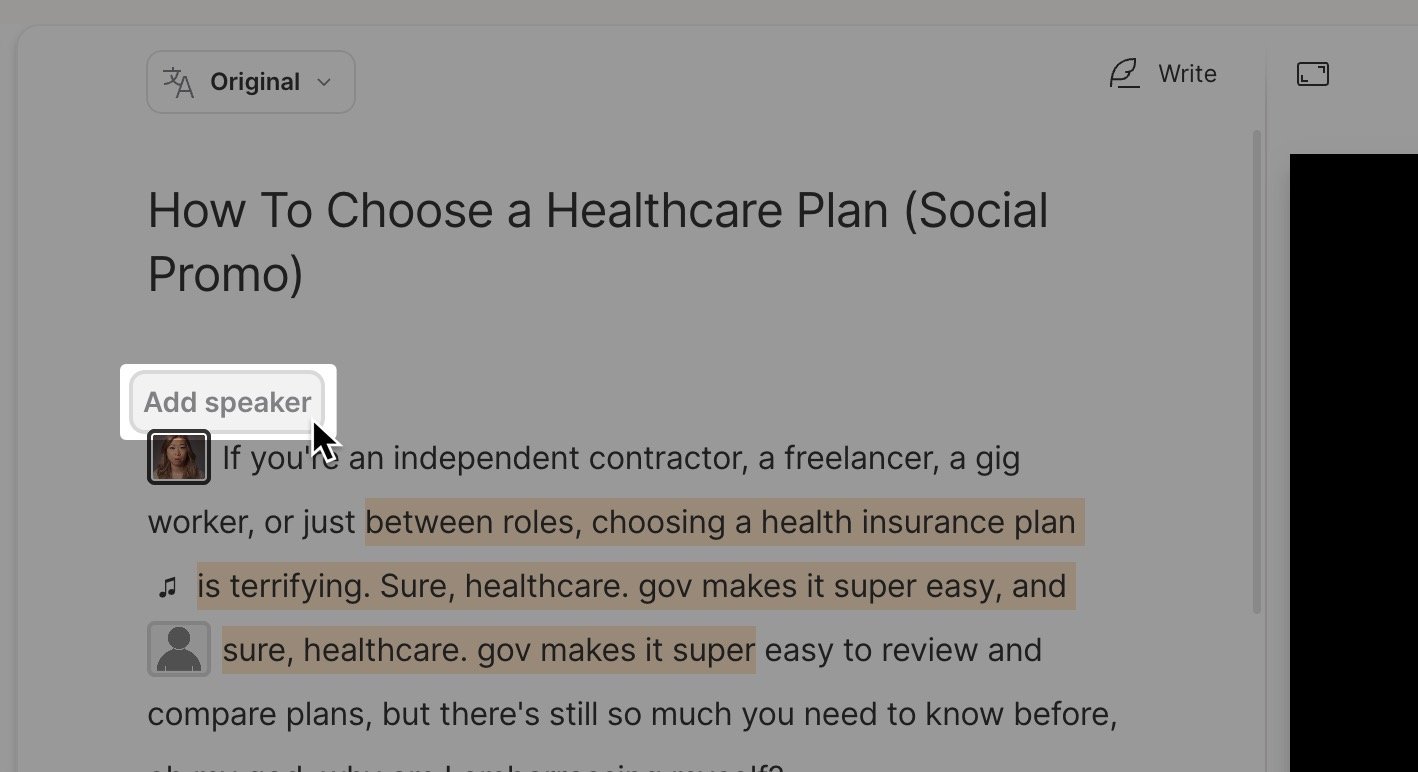 4. Make sure the label is applied to your script before assigning an avatar. Then, click the speaker label again and select **Assign avatar to \[your speaker name]**.
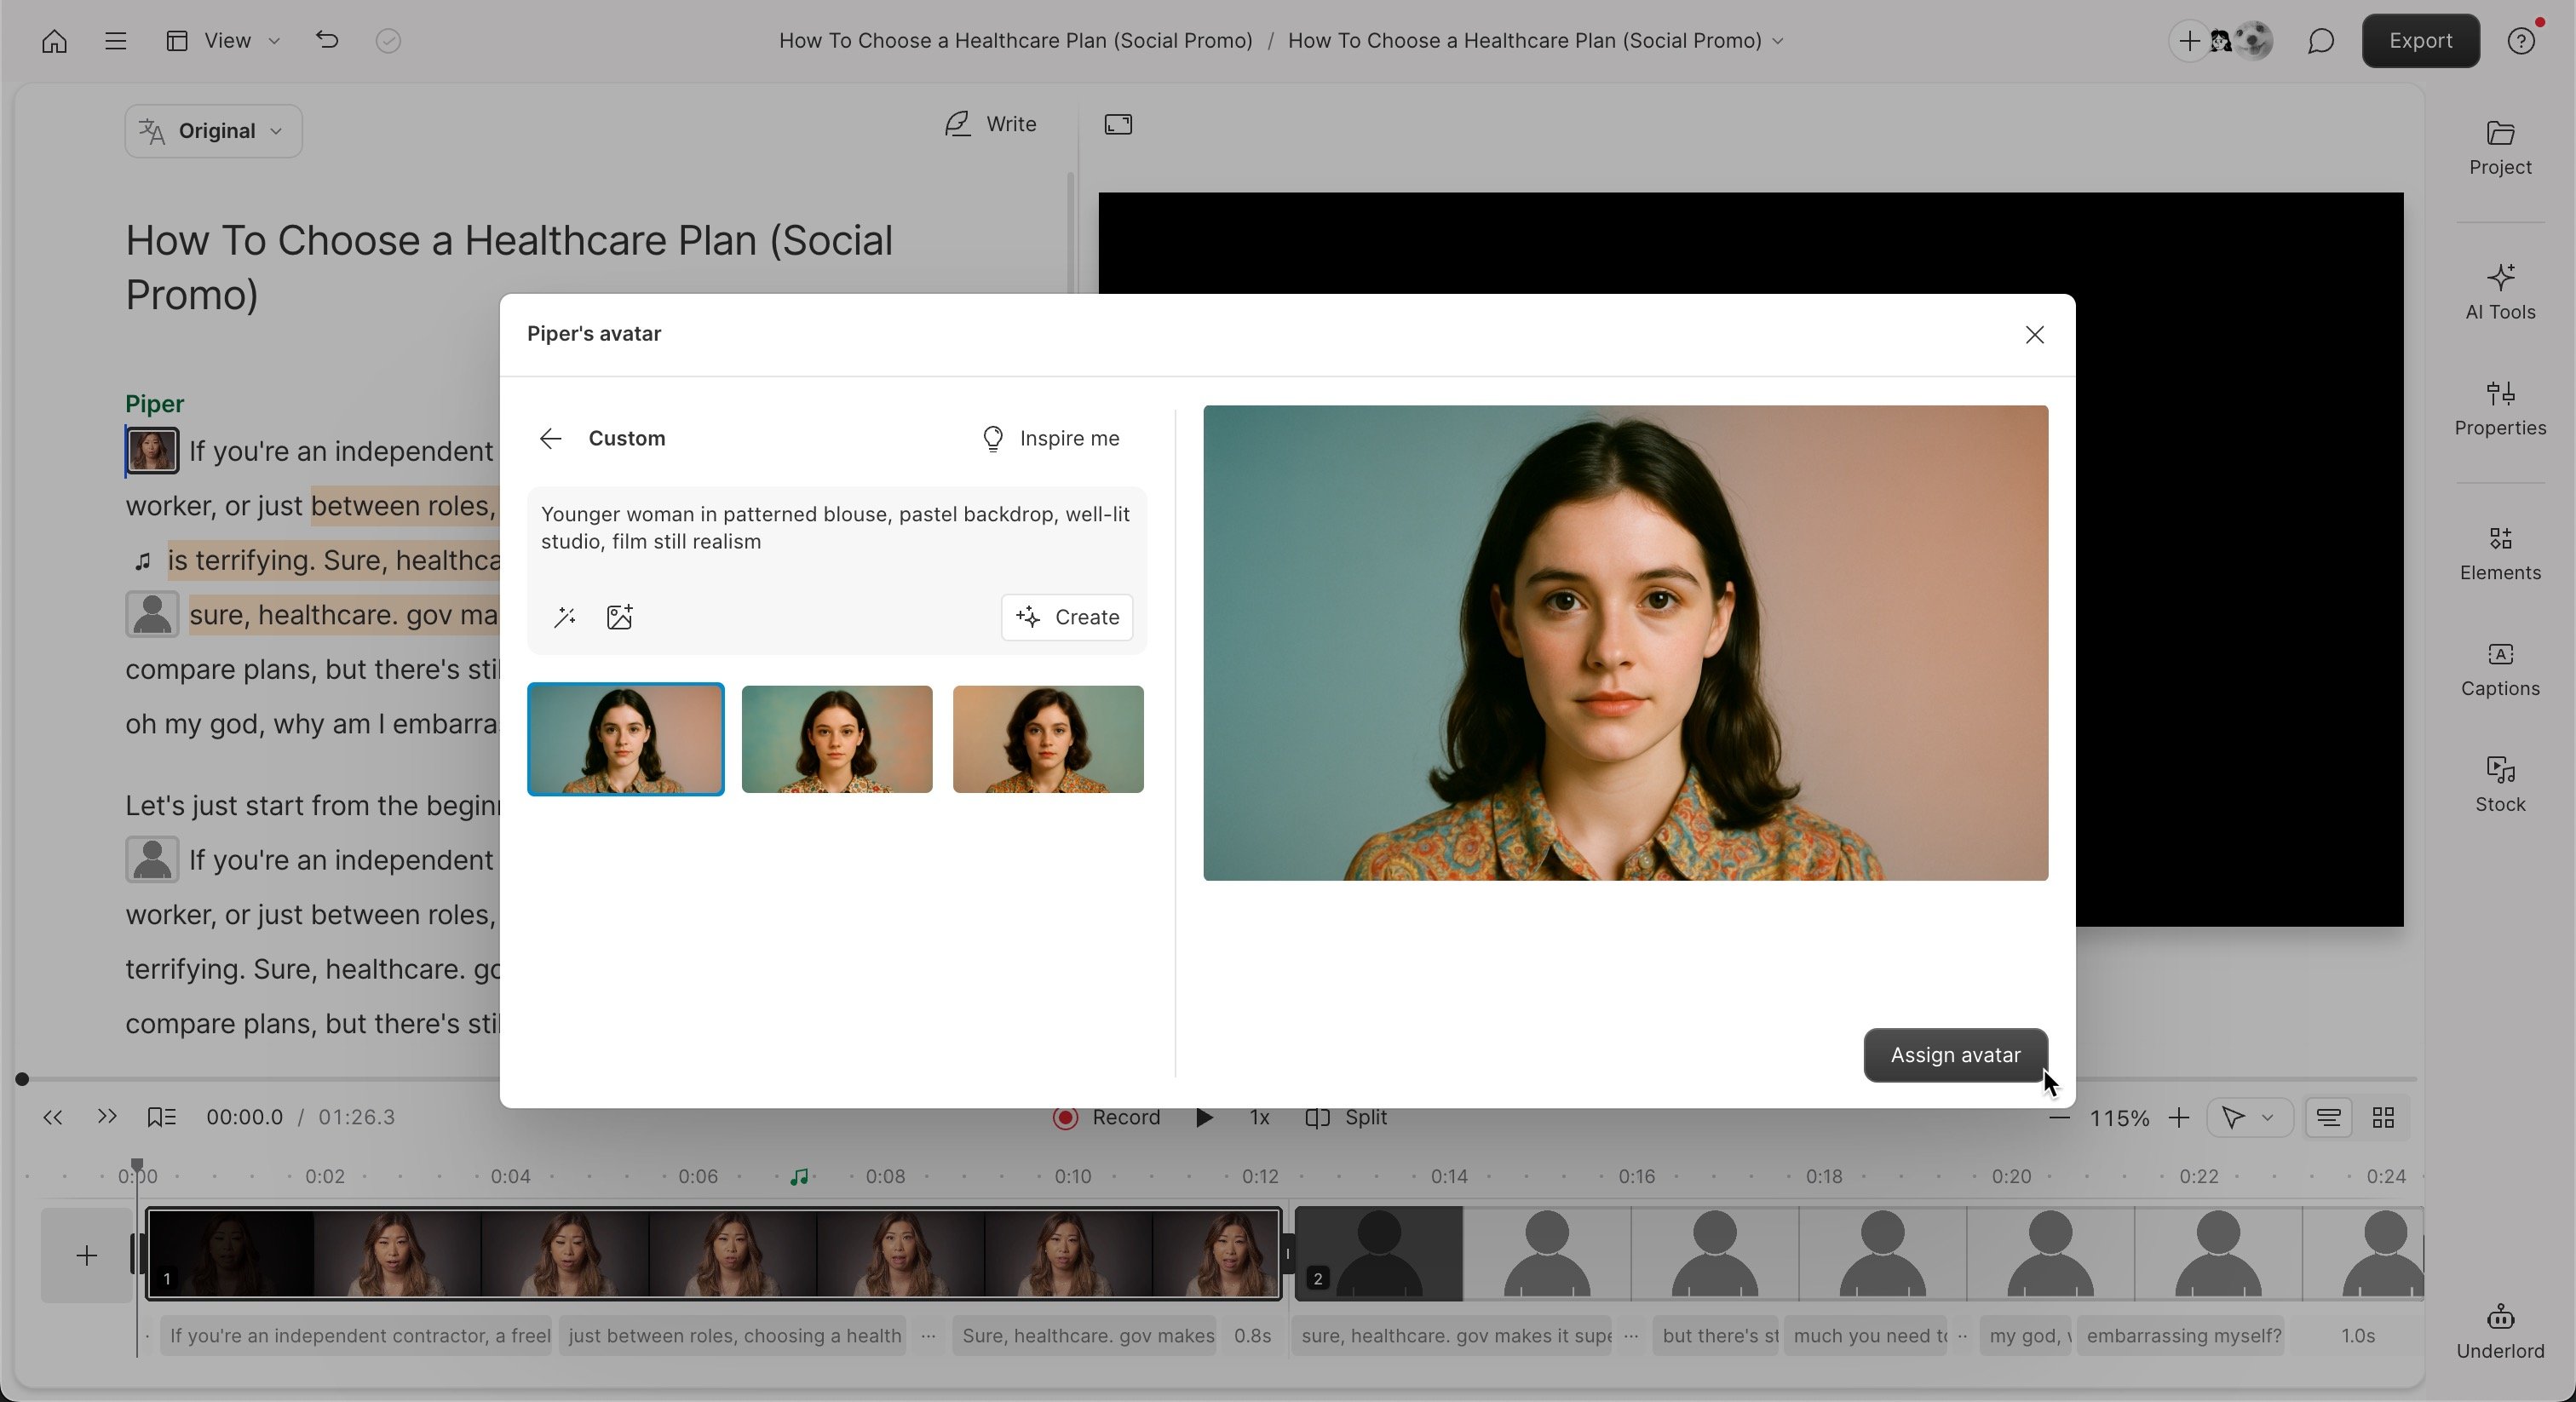
5. Create a custom avatar with a text prompt, select a stock avatar from the gallery, or upload a headshot. [Learn more about creating avatars in Descript](/generative-media/overview).
6. Click **Generate avatar** to animate it with your recorded voice. This should be a final step before finishing your composition — once you generate the avatar, any additional edits will require re-generating and an additional debit of your AI credits.\\
4. Make sure the label is applied to your script before assigning an avatar. Then, click the speaker label again and select **Assign avatar to \[your speaker name]**.
5. Create a custom avatar with a text prompt, select a stock avatar from the gallery, or upload a headshot. [Learn more about creating avatars in Descript](/generative-media/overview).
6. Click **Generate avatar** to animate it with your recorded voice. This should be a final step before finishing your composition — once you generate the avatar, any additional edits will require re-generating and an additional debit of your AI credits.\\
 ## Create a video from scratch with TTS audio
**Workflow: Avatar + Text-to-speech voice**
Write a script, generate text-to-speech audio, then select a stock voice or existing custom AI speaker, and assign an avatar to present your content.
1. Open a new video project/composition and click **Create with AI speaker**.
2. Select a stock voice or existing custom AI speaker. Click **Choose speaker** to confirm.
3. Select a stock avatar from the gallery, or create a custom avatar. Click the **Assign avatar** button to confirm your selection. [Learn more about creating avatars in Descript](/generative-media/overview).
4. In **Write mode**, draft or edit your script. When you're done, click **Done writing**.
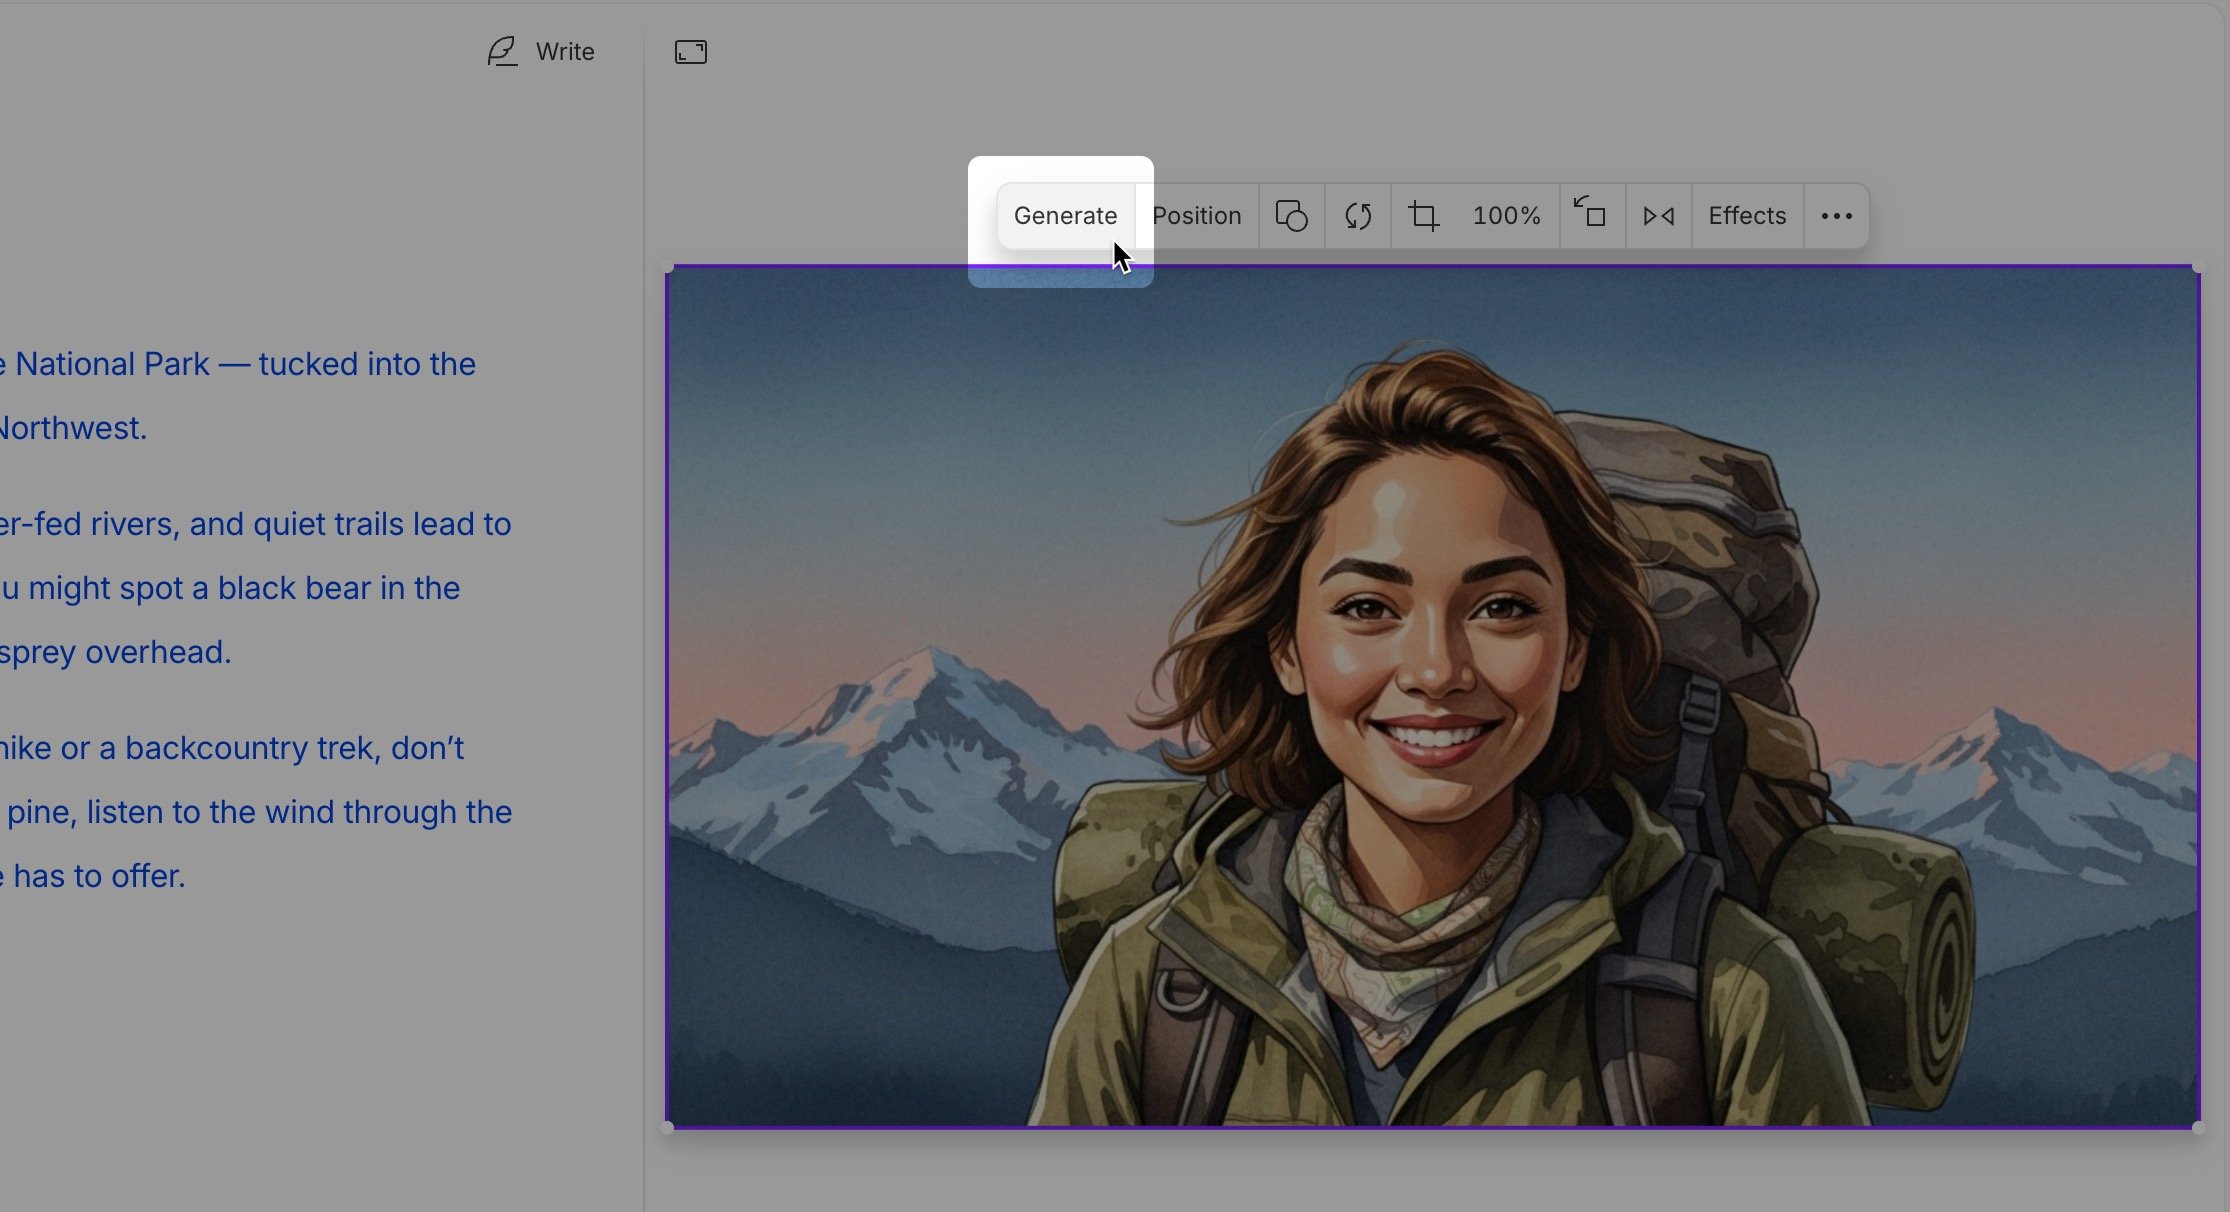
5. Click **Generate avatar** to animate it with your text-to-speech voice. This should be a final step before finishing your composition — once you generate the avatar, any additional edits will require re-generating and an additional debit of your AI credits.
## Add an avatar to existing audio or imported media
**Workflow: Avatar + Imported voice track**
Working with recorded audio—like a podcast, voiceover, or screen recording? You can pair it with an avatar to add a visual presenter.
1. Import your media into your Descript project and add it to your script. [Learn how to import and transcribe your content](/getting-started/import-overview).
2. If you haven’t already, add a [**speaker label**](/script-editing/speakers) to your script. Click the **speaker label** and choose **Assign avatar**.
3. Select a stock avatar from the gallery, or create a custom avatar. Click the **Assign avatar** button to confirm your selection. [Learn more about creating avatars in Descript](/generative-media/overview).
4. Click the **Assign avatar** button to confirm your selection.
## Create a video from scratch with TTS audio
**Workflow: Avatar + Text-to-speech voice**
Write a script, generate text-to-speech audio, then select a stock voice or existing custom AI speaker, and assign an avatar to present your content.
1. Open a new video project/composition and click **Create with AI speaker**.
2. Select a stock voice or existing custom AI speaker. Click **Choose speaker** to confirm.
3. Select a stock avatar from the gallery, or create a custom avatar. Click the **Assign avatar** button to confirm your selection. [Learn more about creating avatars in Descript](/generative-media/overview).
4. In **Write mode**, draft or edit your script. When you're done, click **Done writing**.
5. Click **Generate avatar** to animate it with your text-to-speech voice. This should be a final step before finishing your composition — once you generate the avatar, any additional edits will require re-generating and an additional debit of your AI credits.
## Add an avatar to existing audio or imported media
**Workflow: Avatar + Imported voice track**
Working with recorded audio—like a podcast, voiceover, or screen recording? You can pair it with an avatar to add a visual presenter.
1. Import your media into your Descript project and add it to your script. [Learn how to import and transcribe your content](/getting-started/import-overview).
2. If you haven’t already, add a [**speaker label**](/script-editing/speakers) to your script. Click the **speaker label** and choose **Assign avatar**.
3. Select a stock avatar from the gallery, or create a custom avatar. Click the **Assign avatar** button to confirm your selection. [Learn more about creating avatars in Descript](/generative-media/overview).
4. Click the **Assign avatar** button to confirm your selection.
 5. Click **Generate avatar** to animate it with your recorded voice. This should be a final step before finishing your composition — once you generate the avatar, any additional edits will require re-generating and an additional debit of your AI credits.
## Not seeing your avatar? Review the layer order.
Avatar visibility depends on [layer order and visibility settings](/visuals/layer-visibility). Check that your avatar layer is turned on and sitting above other media in the Properties panel.
5. Click **Generate avatar** to animate it with your recorded voice. This should be a final step before finishing your composition — once you generate the avatar, any additional edits will require re-generating and an additional debit of your AI credits.
## Not seeing your avatar? Review the layer order.
Avatar visibility depends on [layer order and visibility settings](/visuals/layer-visibility). Check that your avatar layer is turned on and sitting above other media in the Properties panel.