> ## Documentation Index
> Fetch the complete documentation index at: https://help.descript.com/llms.txt
> Use this file to discover all available pages before exploring further.
# Add a Zoom Effect with a Custom Animation
> Create a zoom-in or zoom-out effect on a layer using a custom animation.
Create a zoom effect by animating a layer's size over time. With a custom animation, you set where the zoom starts and ends, and Descript fills in the motion between.
1. Select the layer you want to animate.
2. In the [Properties panel,](/descript-tour/properties-panel) scroll until you find the Animations section, then click the **+** button to add an animation. In this guide, we'll be using the **Custom** option.
* If you are animating a script track video, you'll have 2 options: **Zoom and pan** and **Custom.**
* If you are animating a visual layer, you'll have additional options available. Learn more about [the Ken Burns animation](/effects-animations-transitions/ken-burns-animation) and [applying transition animations to clips](/effects-animations-transitions/apply-and-adjust-animations).
3. Keyframes are automatically added in the timeline when you apply an animation. They act as markers that define specific points where an animation begins and ends.
These are represented by a pair of diamonds on the animated media. The left diamond is the starting keyframe, and the right diamond is the ending keyframe.
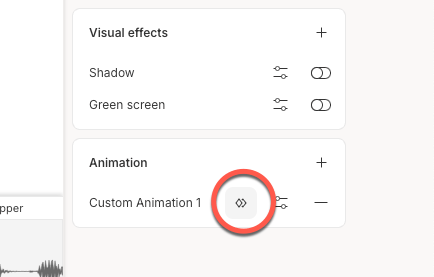
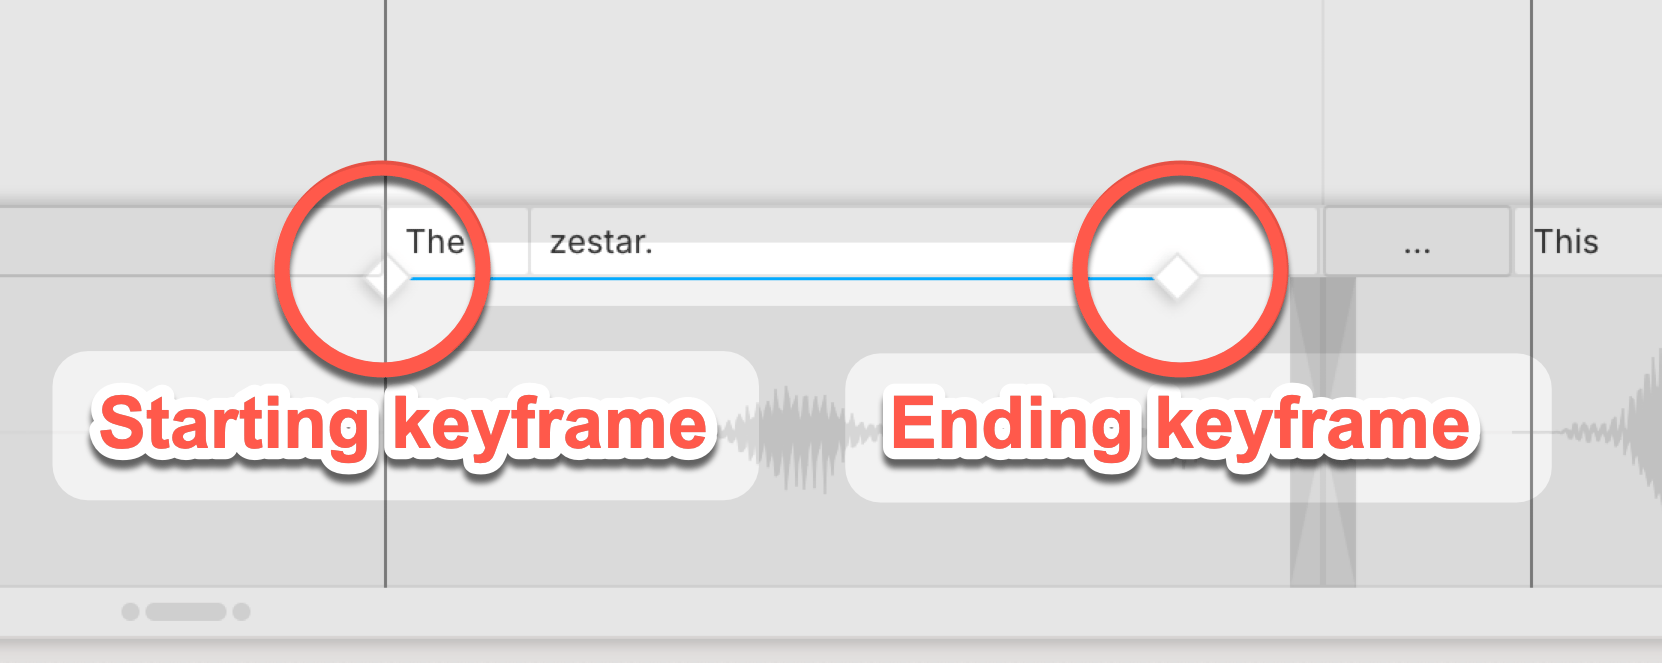 After adding an animation, you can edit its keyframes from the timeline. In the Animations section of the Properties panel, click the keyframes icon (two overlapping diamonds) next to the animation you want to adjust. You can drag the keyframes to the desired start and end points of the animation.
 4. To zoom in on your visual, select the ending keyframe. Then, adjust the scene editor to reflect how the visual will appear at the end of the zoom animation.
 The animation curve can be adjusted from the **Options** panel in the Animations section of the Properties panel. The curve you choose will determine how the animation speeds up or slows down. [See a visual representation of these options.](/effects-animations-transitions/apply-and-adjust-animations)
5. Success! Playback your composition, and see your animation in action.
The animation curve can be adjusted from the **Options** panel in the Animations section of the Properties panel. The curve you choose will determine how the animation speeds up or slows down. [See a visual representation of these options.](/effects-animations-transitions/apply-and-adjust-animations)
5. Success! Playback your composition, and see your animation in action.